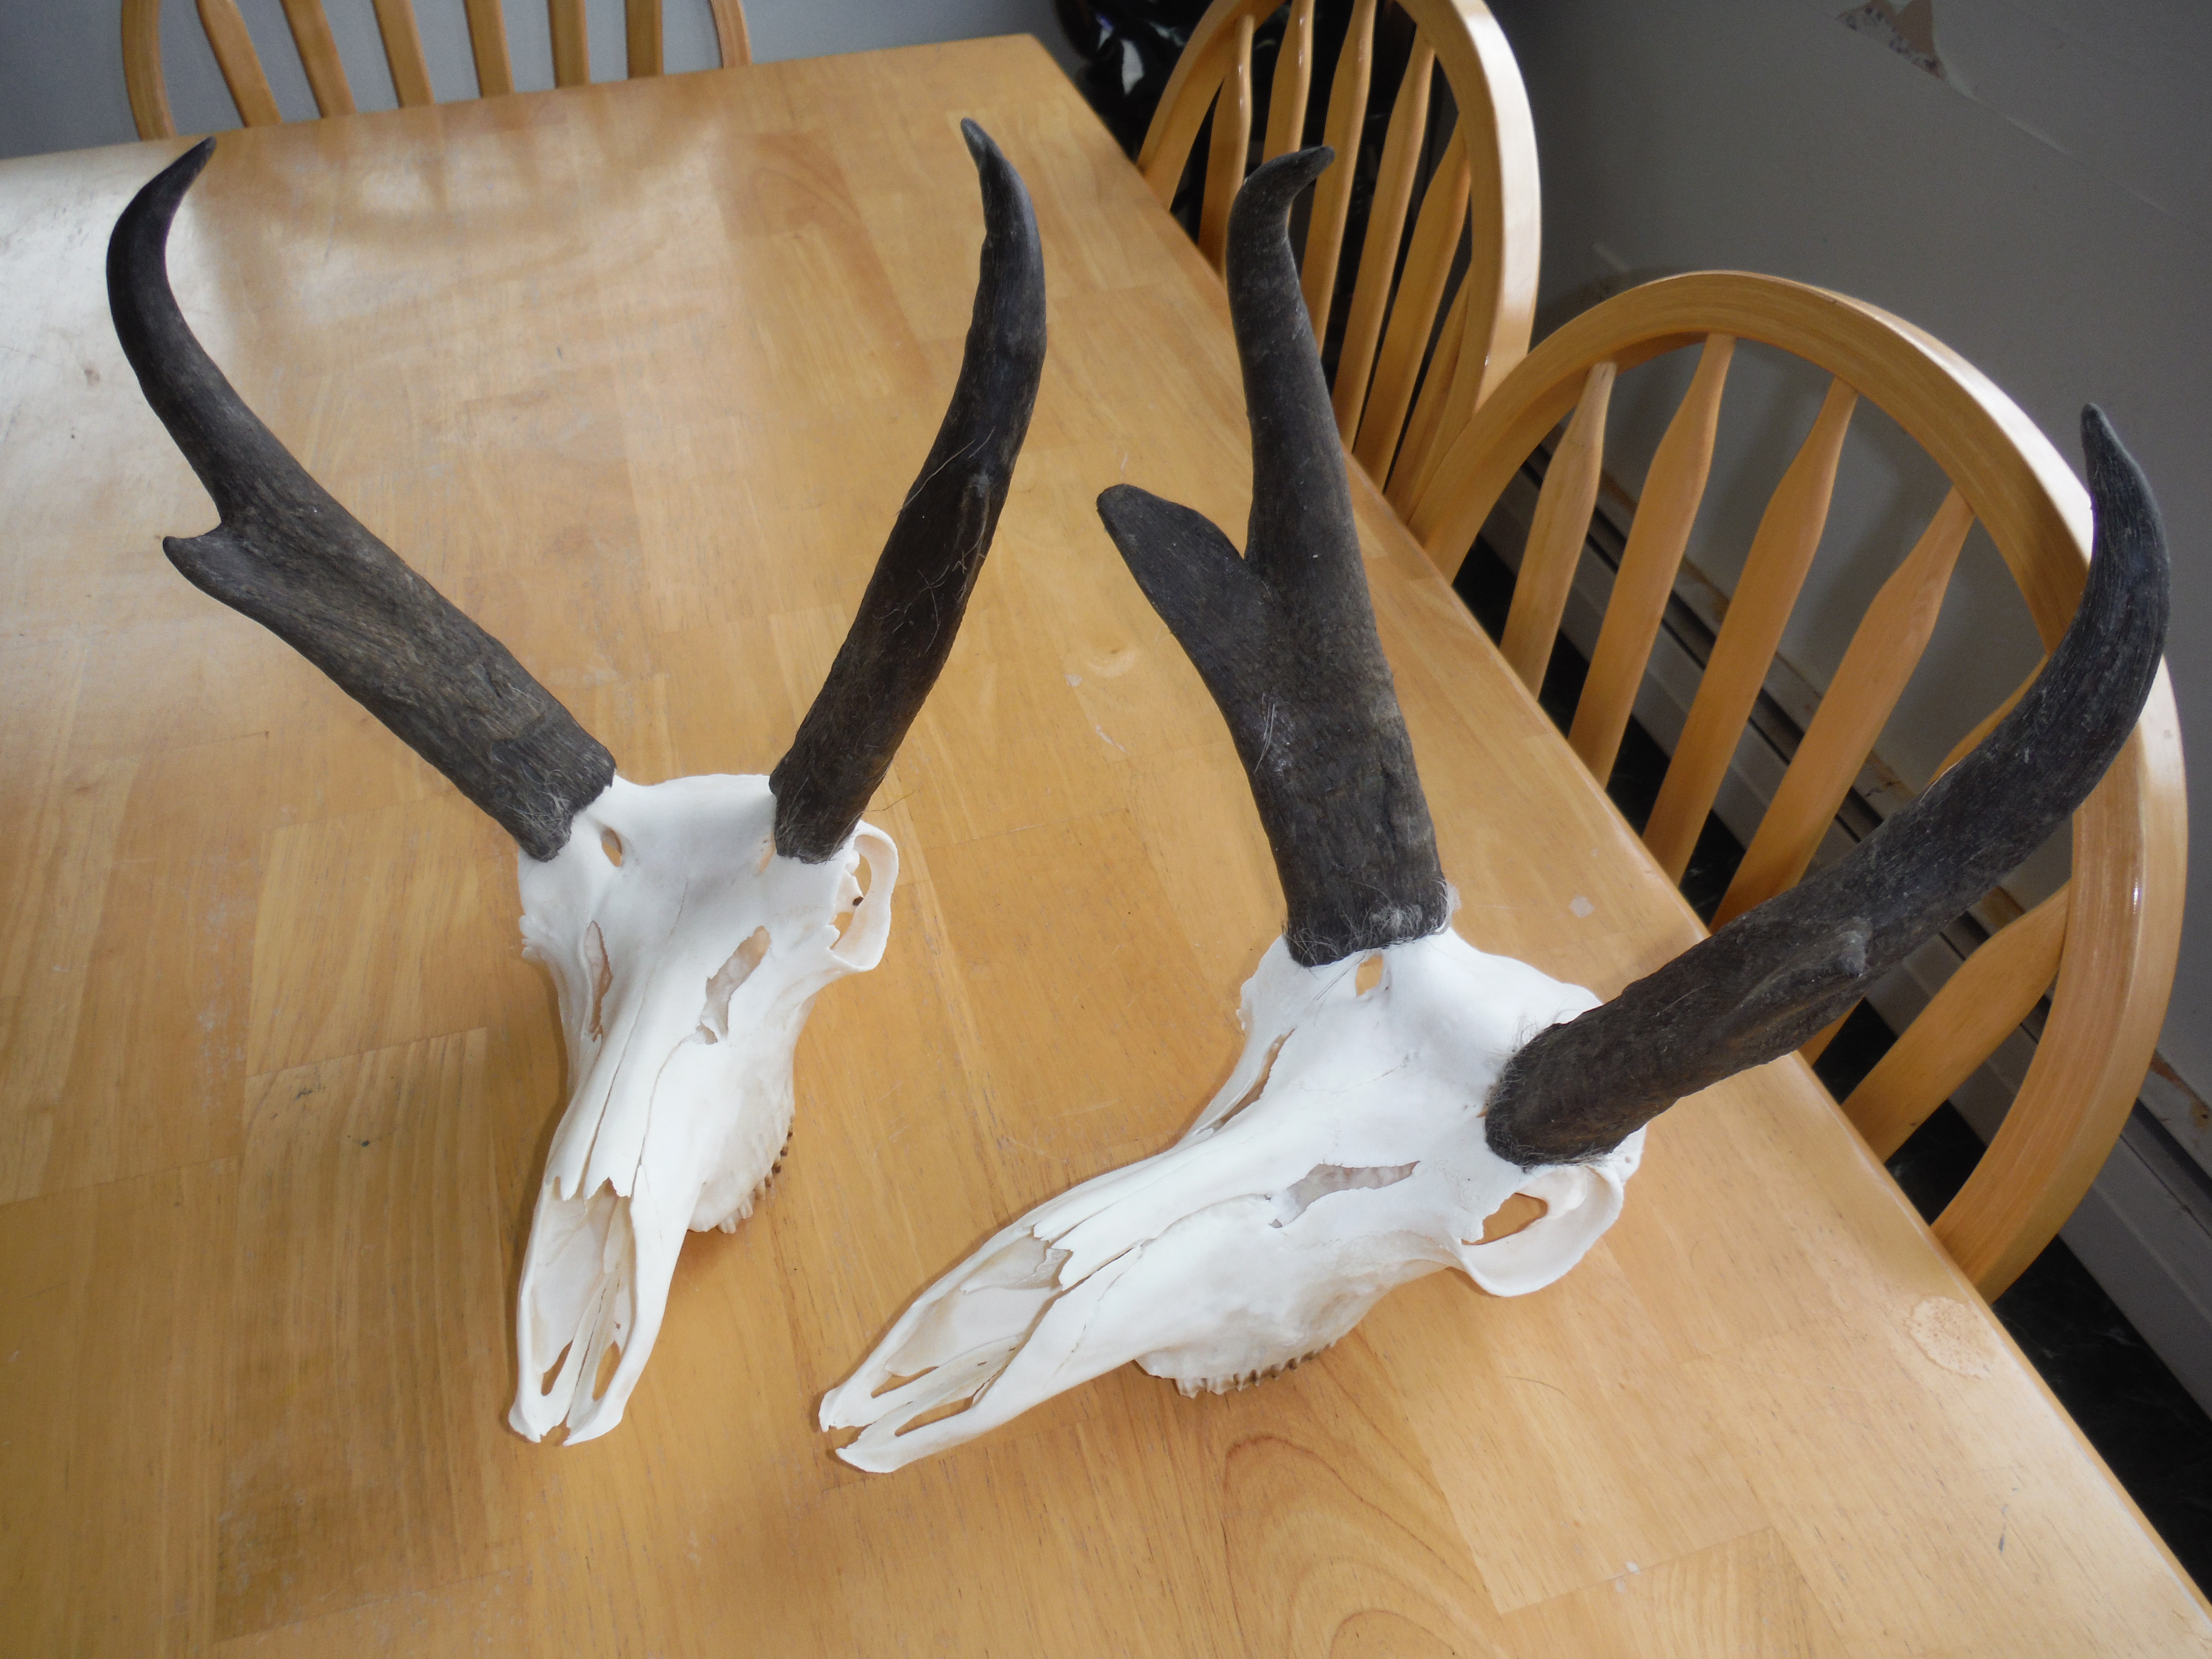
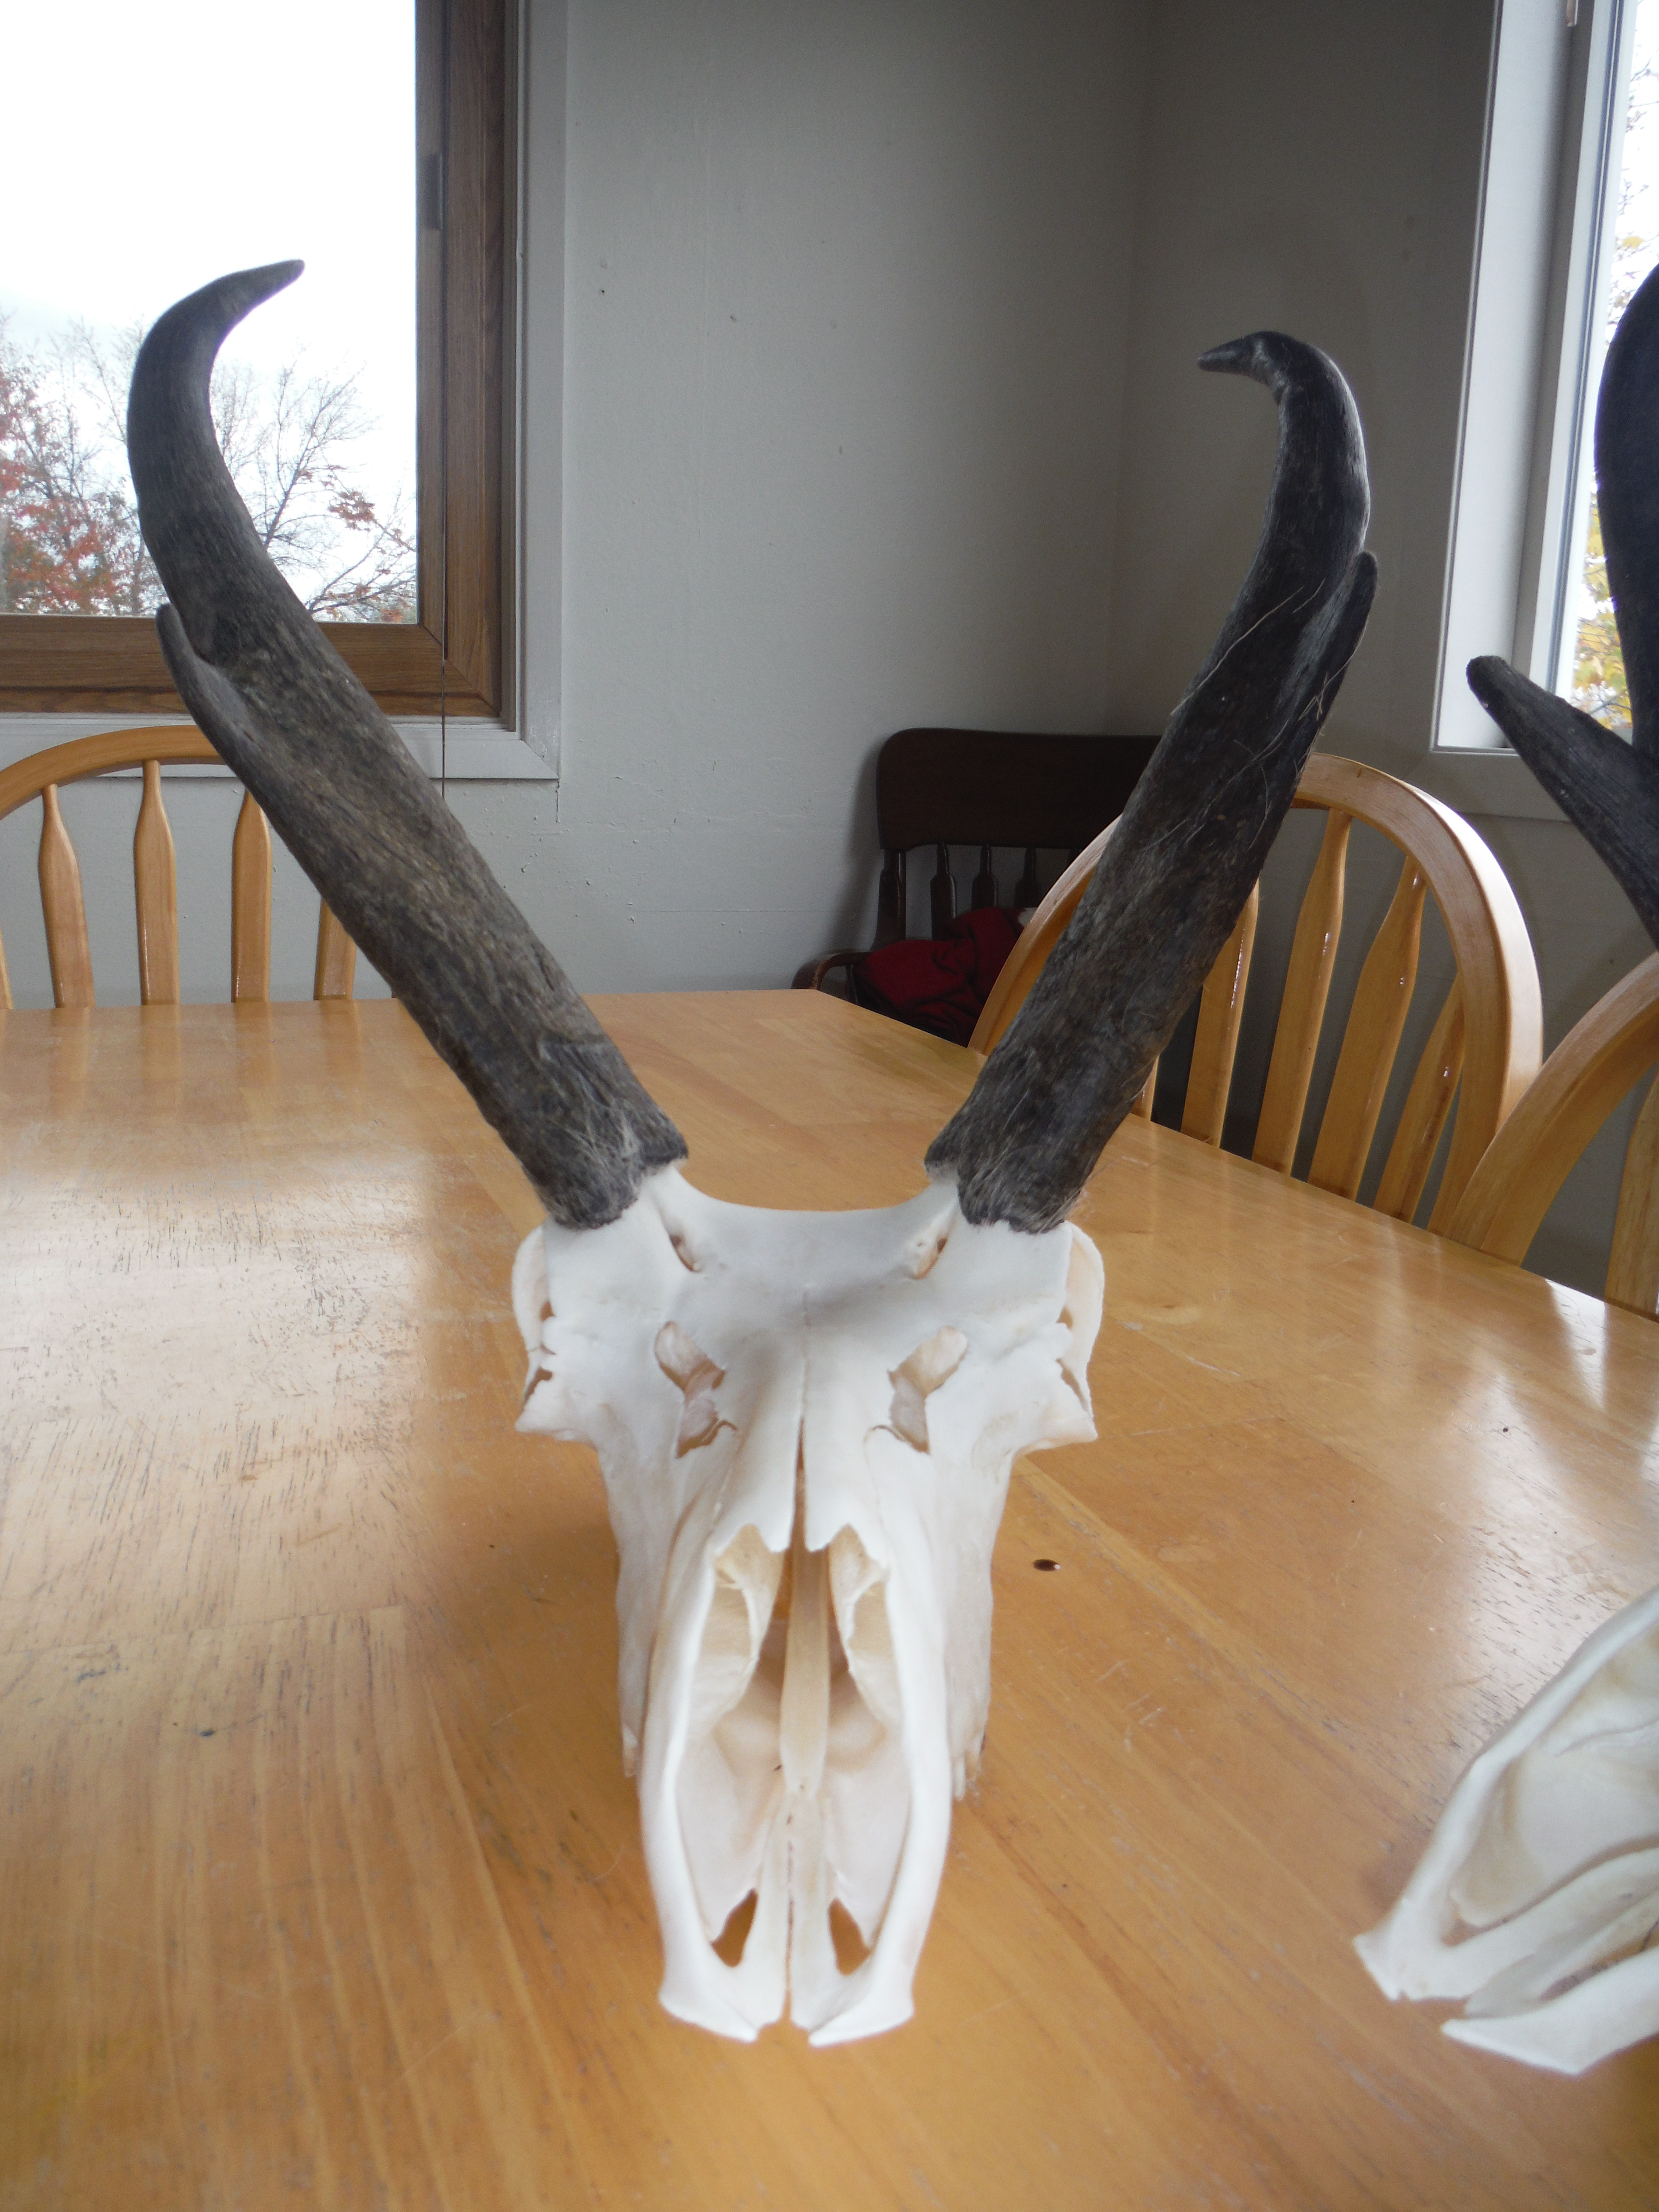
If you have a weak stomach, do yourself a favor and read something else. Proceed at your own risk. It isn’t really that bad but any topic revolving around brains, eyeballs and teeth can cause some queasiness in folks. It is that time of year again. Time to get those skulls ready for the wall and smelling like a rose…or at least not smelling. Today I will be working on our antelope skulls. I thought I would share the steps with you in case you were interested in the process.
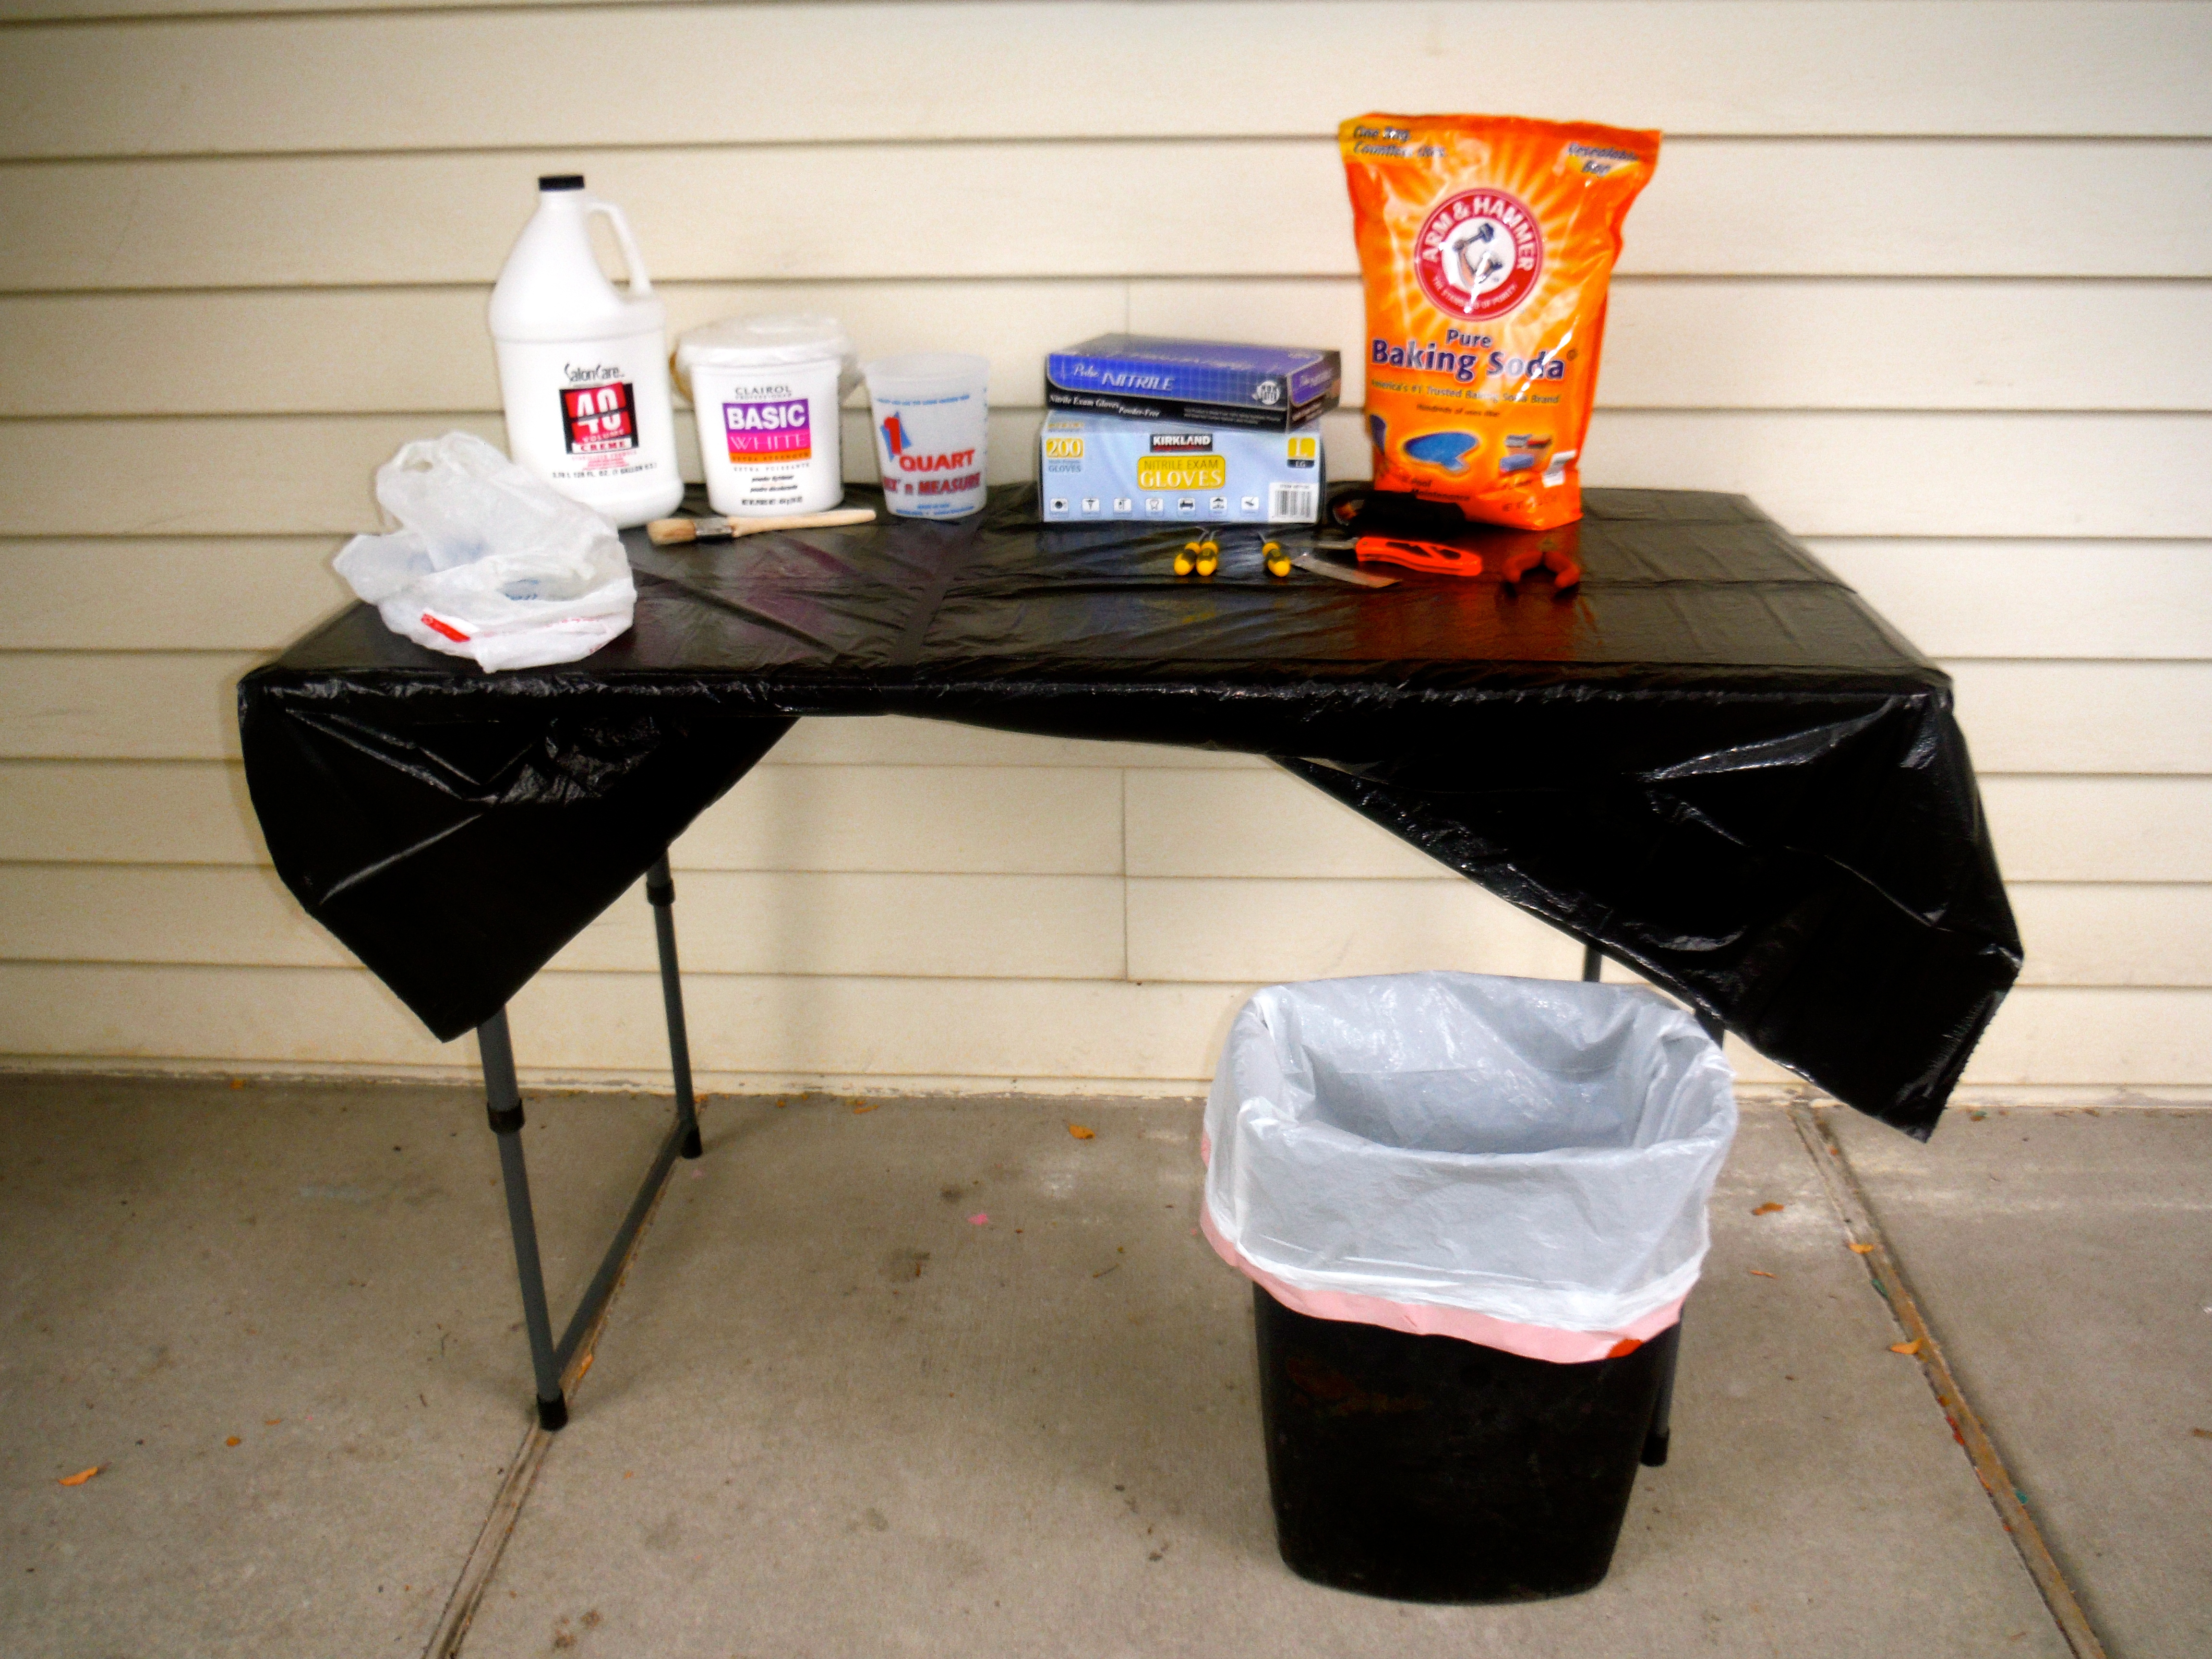
Here is a list of tools and materials to gather together before you start:
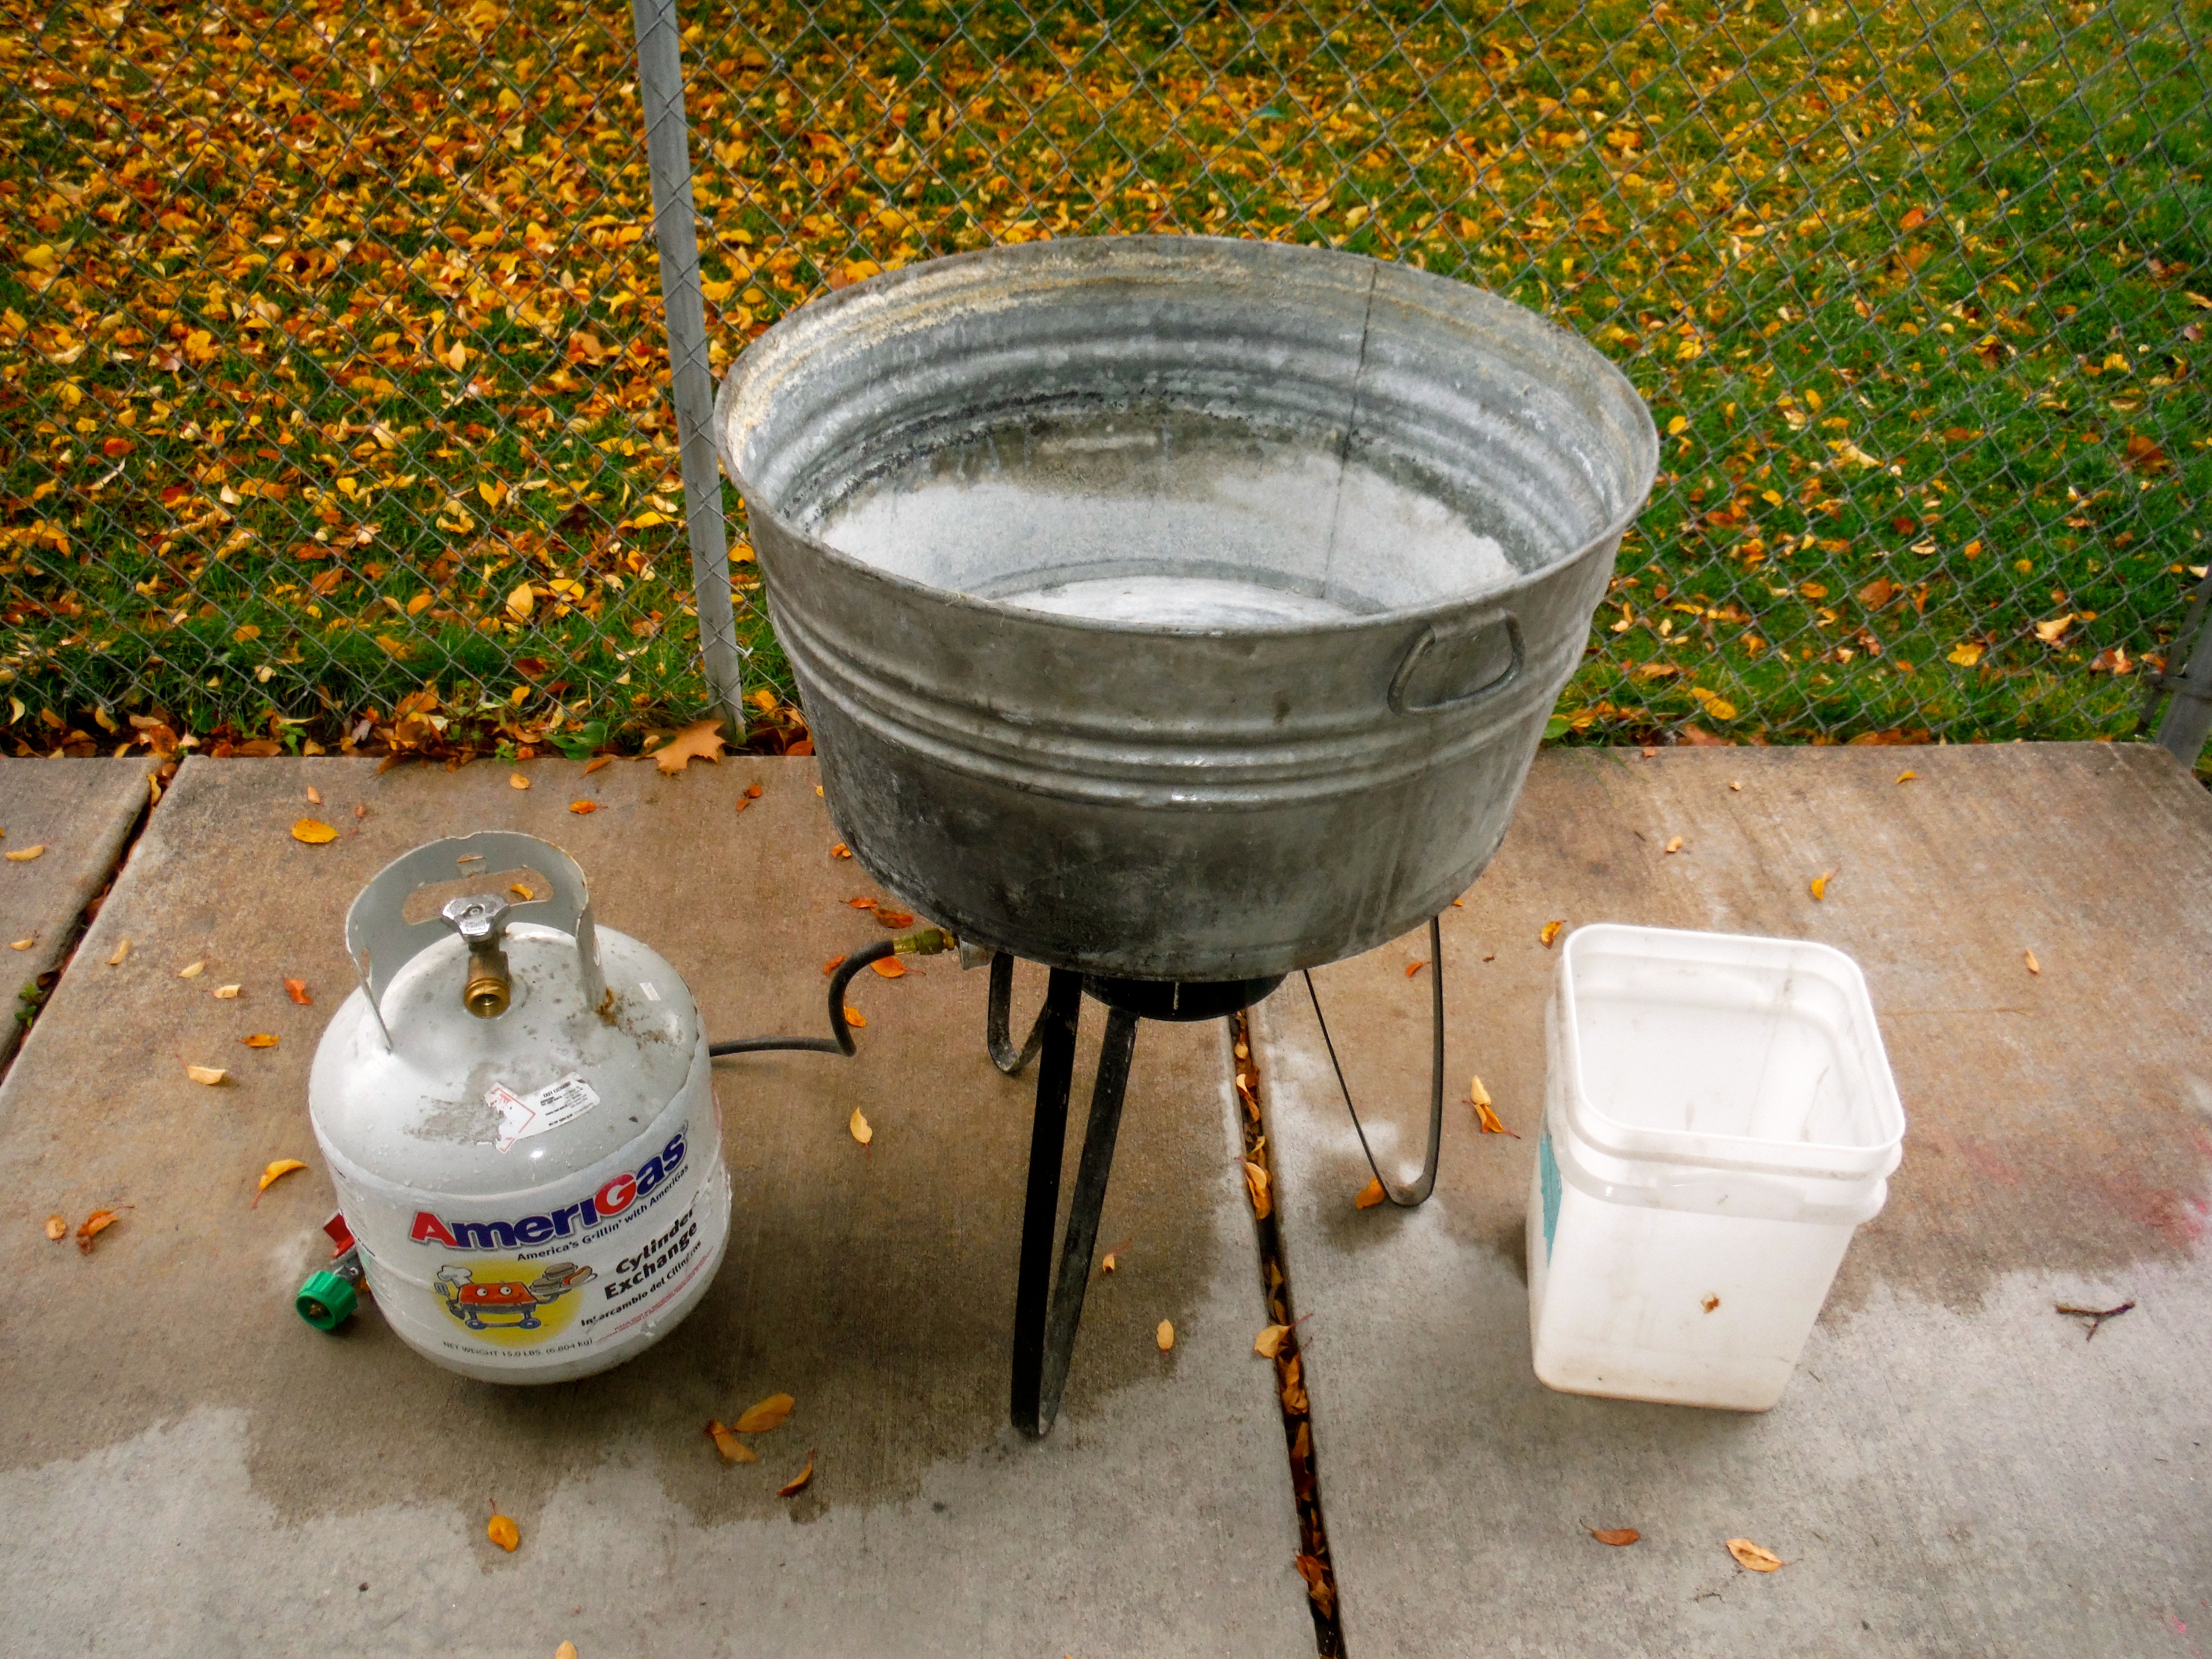
Large Pot- Mine is an old wash basin.
Gloves- Disposable
Work Table- This just helps your back and aids clean up. Cover it with a trash bag or something you can wrap up and throw away when your finished.
Garbage Can- Essential
Scalpel/Knife- Also Essential
Hooks- These help you get into those small cracks and holes. The sinuses are difficult to clean without these tools. Available at any hardware store.
Pliers- These come in handy for getting into tight places as well.
Boards to prop the skull on- Today I won’t be using them because antelope can be fully submerged.
Burner- Propane burners are the easiest way to keep a steady heat under your pot but I have also done it over a wood fire.
Propane- If you are using a propane burner.
Electrical Tape- This is for taping the plastic bag around the antlers so I won’t be using it today either.
40 Volume Creme- SalonCare professional developer can be found at Sally’s beauty supply store. This is what makes them beautifully white.
Baking Soda- I put a couple cups into my boiling water to help remove some of the odors. Totally optional.
Paint Brush- For applying the developer.
Plastic Container- To put your developer in when it is time to slather your skull in it.
Plastic Bags- To cover the skull overnight while the developer does it’s magic.
Clean Water- For rinsing and boiling.
Bucket- I use this to haul water to my pot and to keep water in, near my work area, in case of a fire emergency.
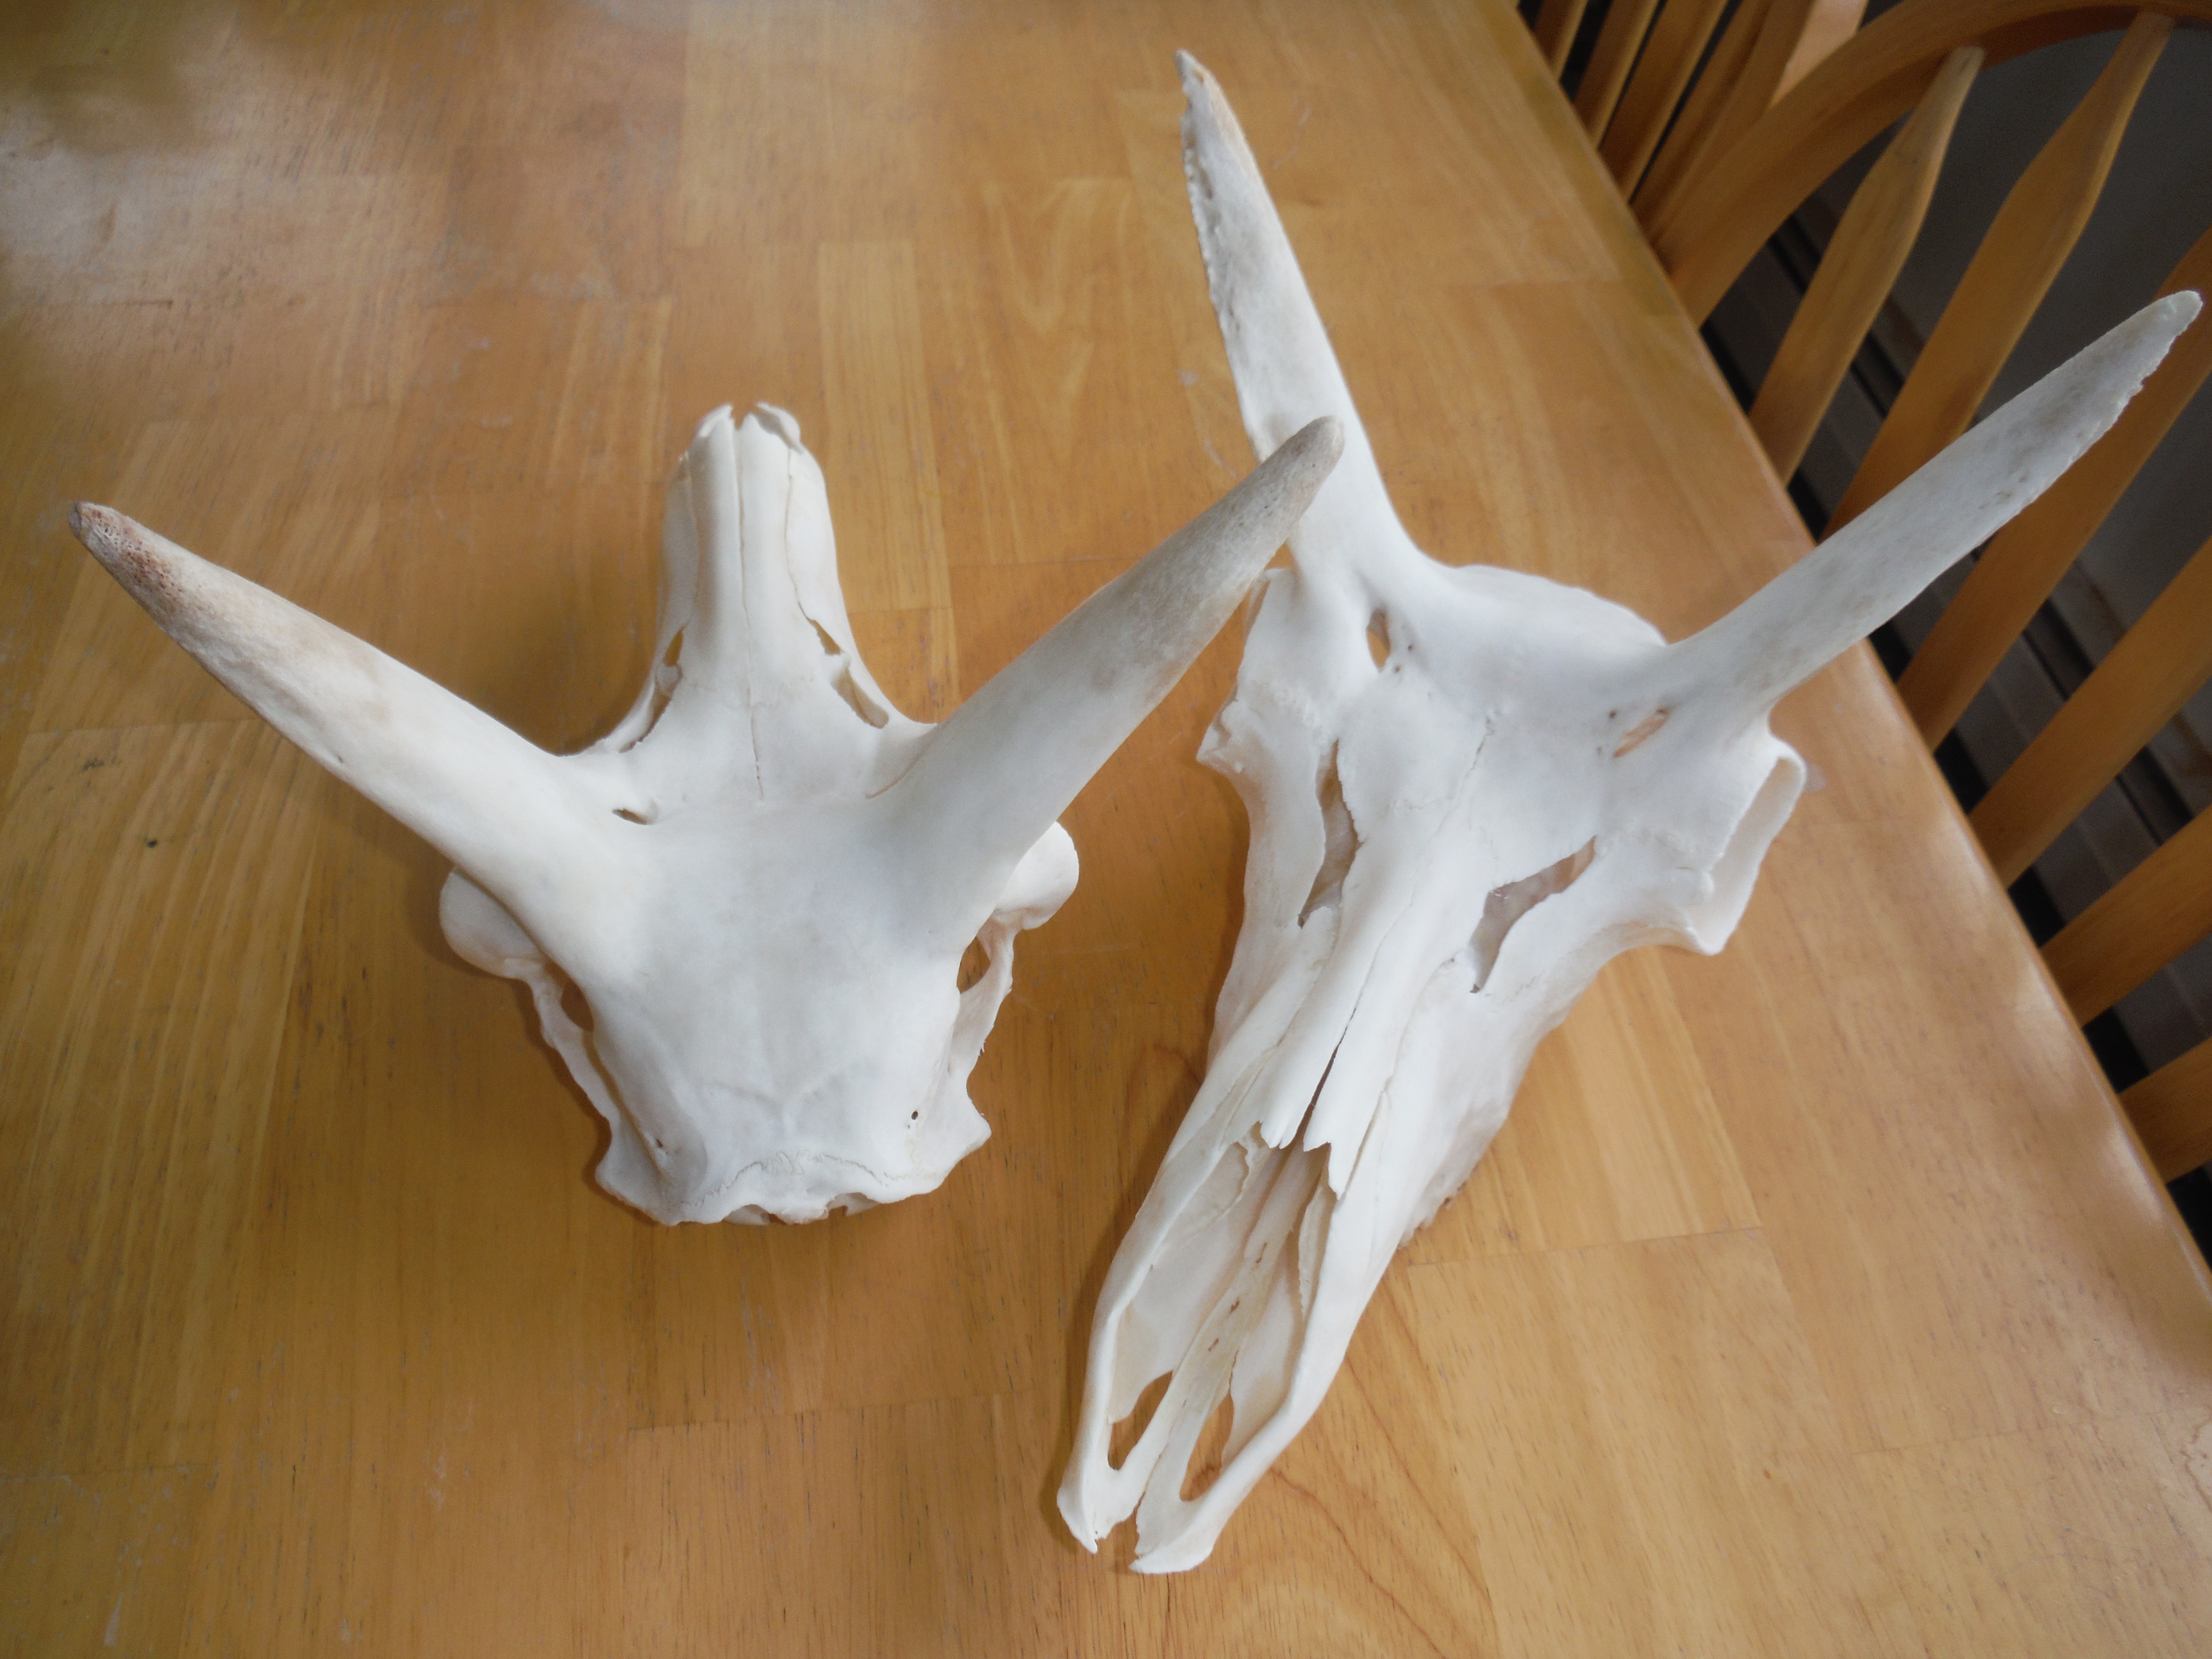
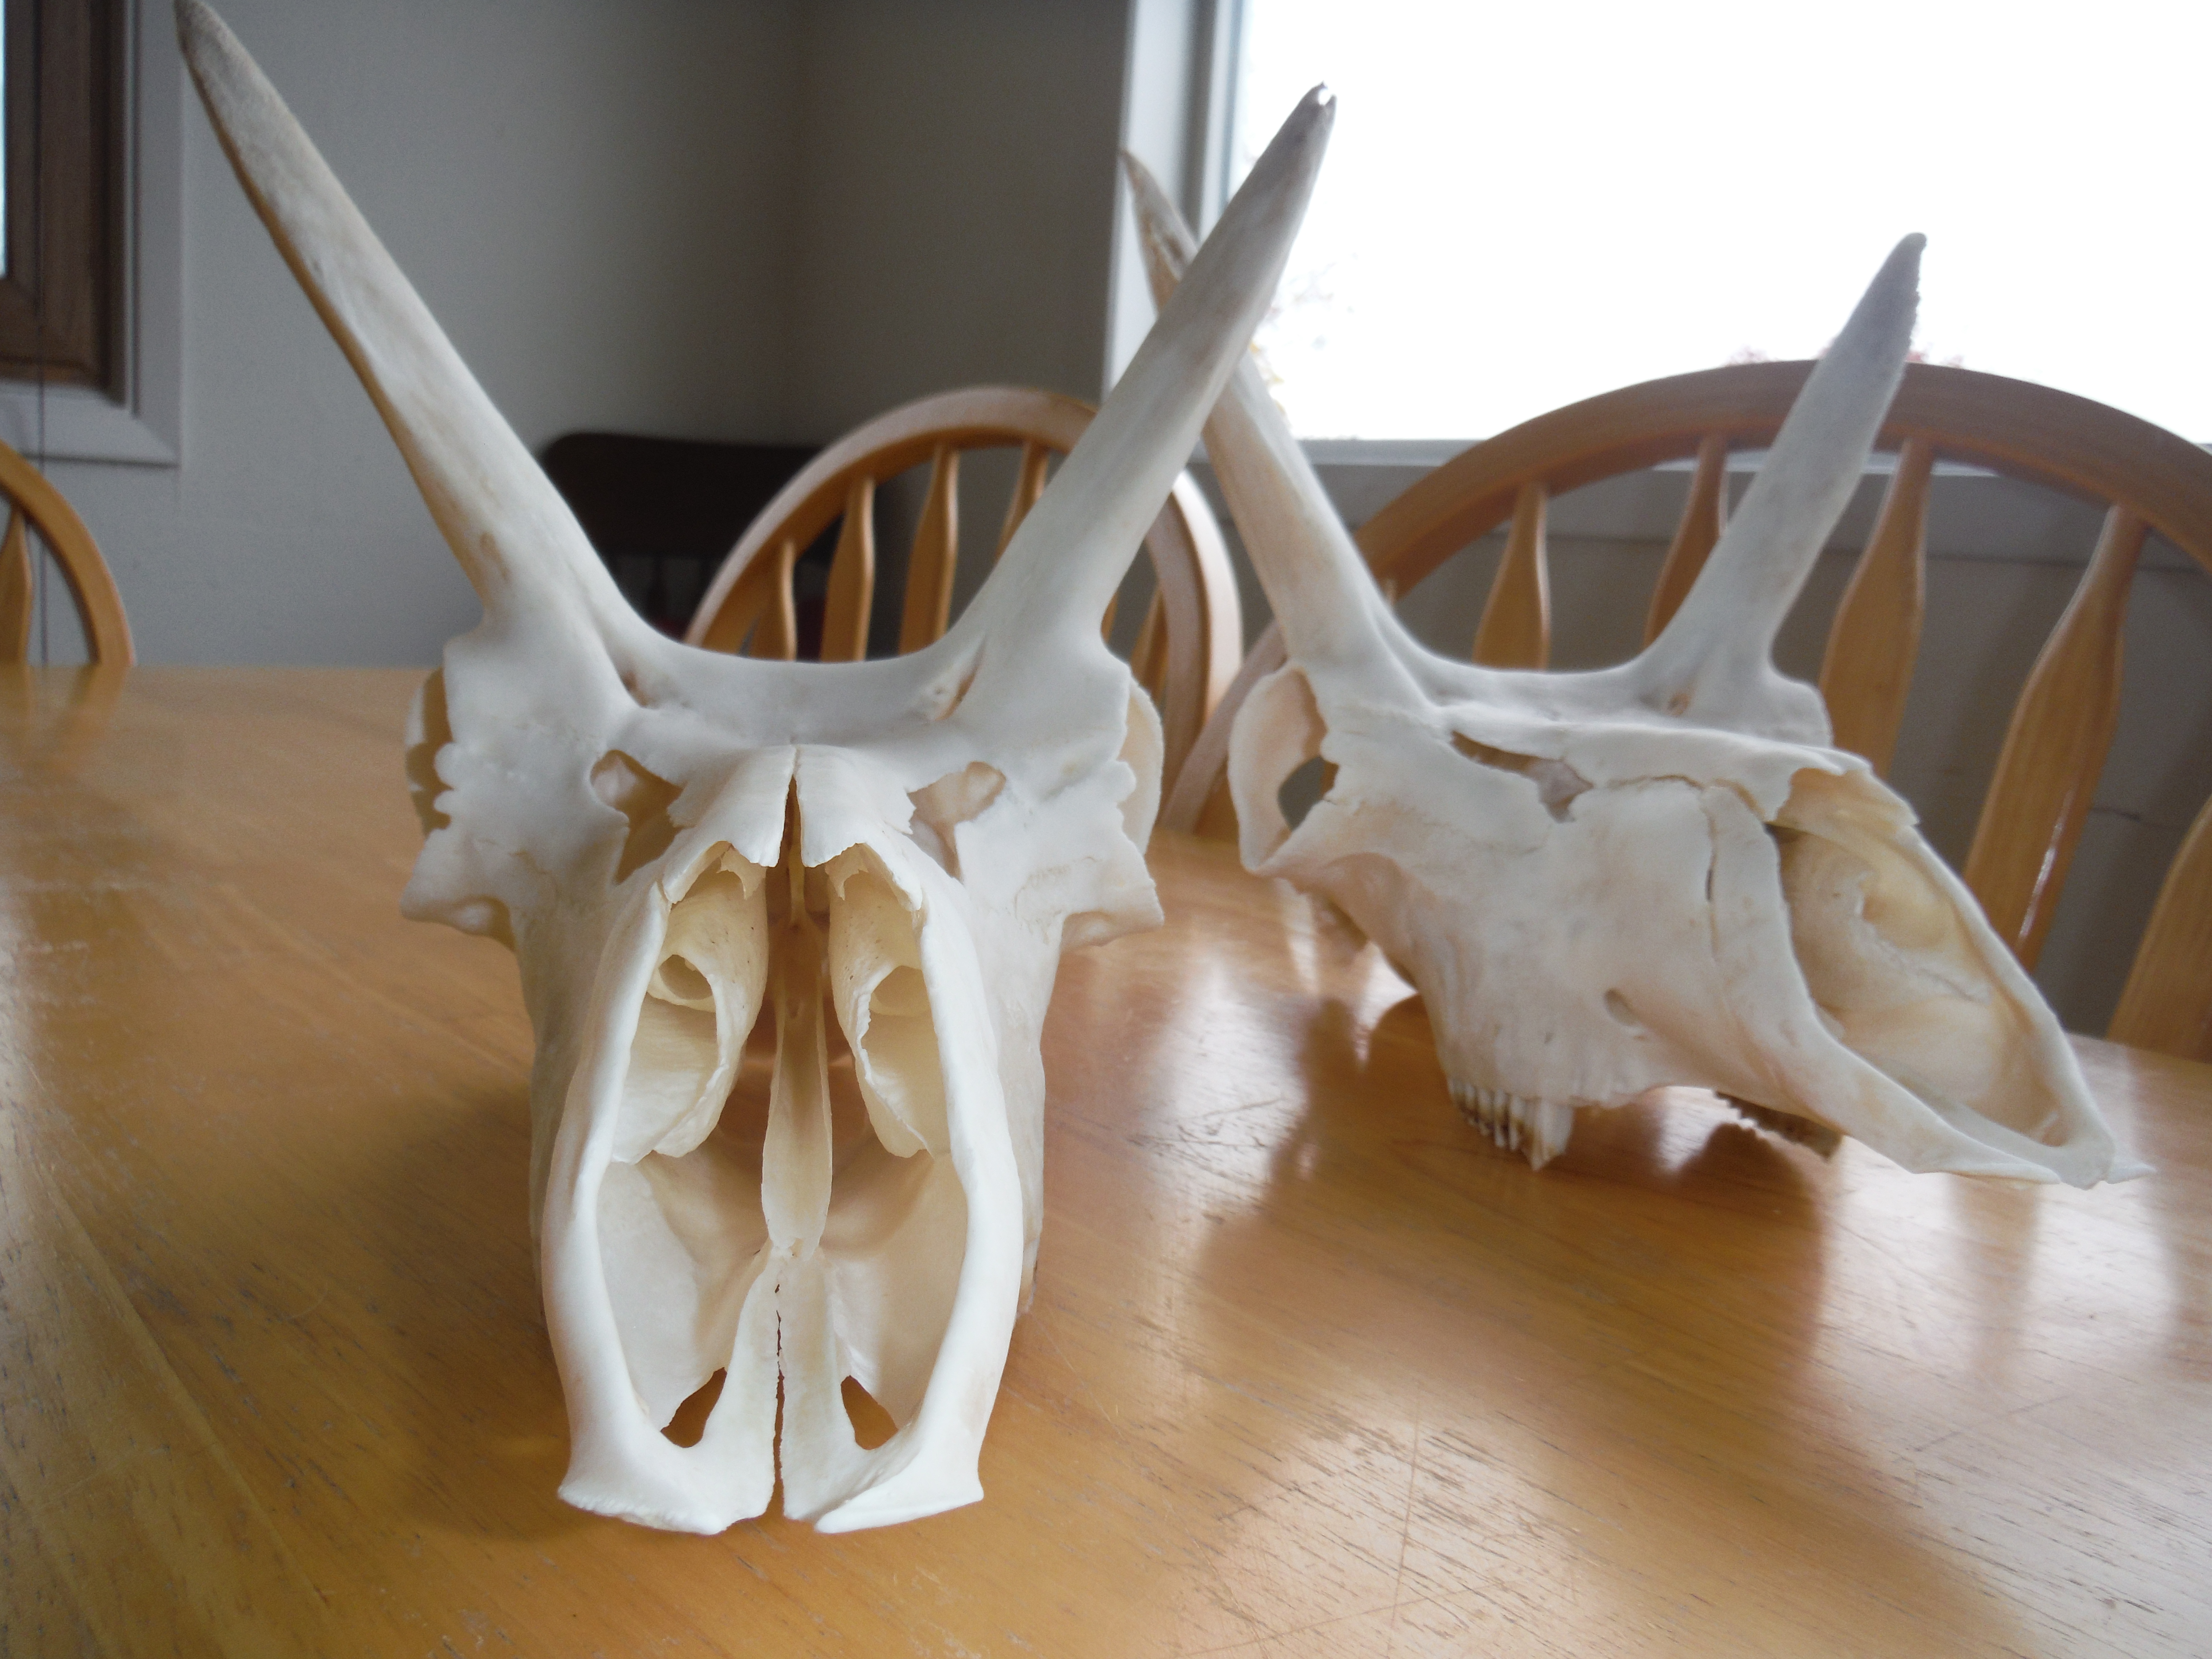
An Entire Day At Home- These two antelope skull took most of the day to complete. The nice thing is that it is just a few minutes here and there but you have to be available all day to keep an eye on it.


In my upper picture you can also see a tub of another whitener called Basic White. It is a powdered lightener, also from Sally’s. It can be made into a paste that can be painted on like the developer but I personally do not use it. It’s just another option to put out on the table for you. For the antelope skulls, I am using the developer only.
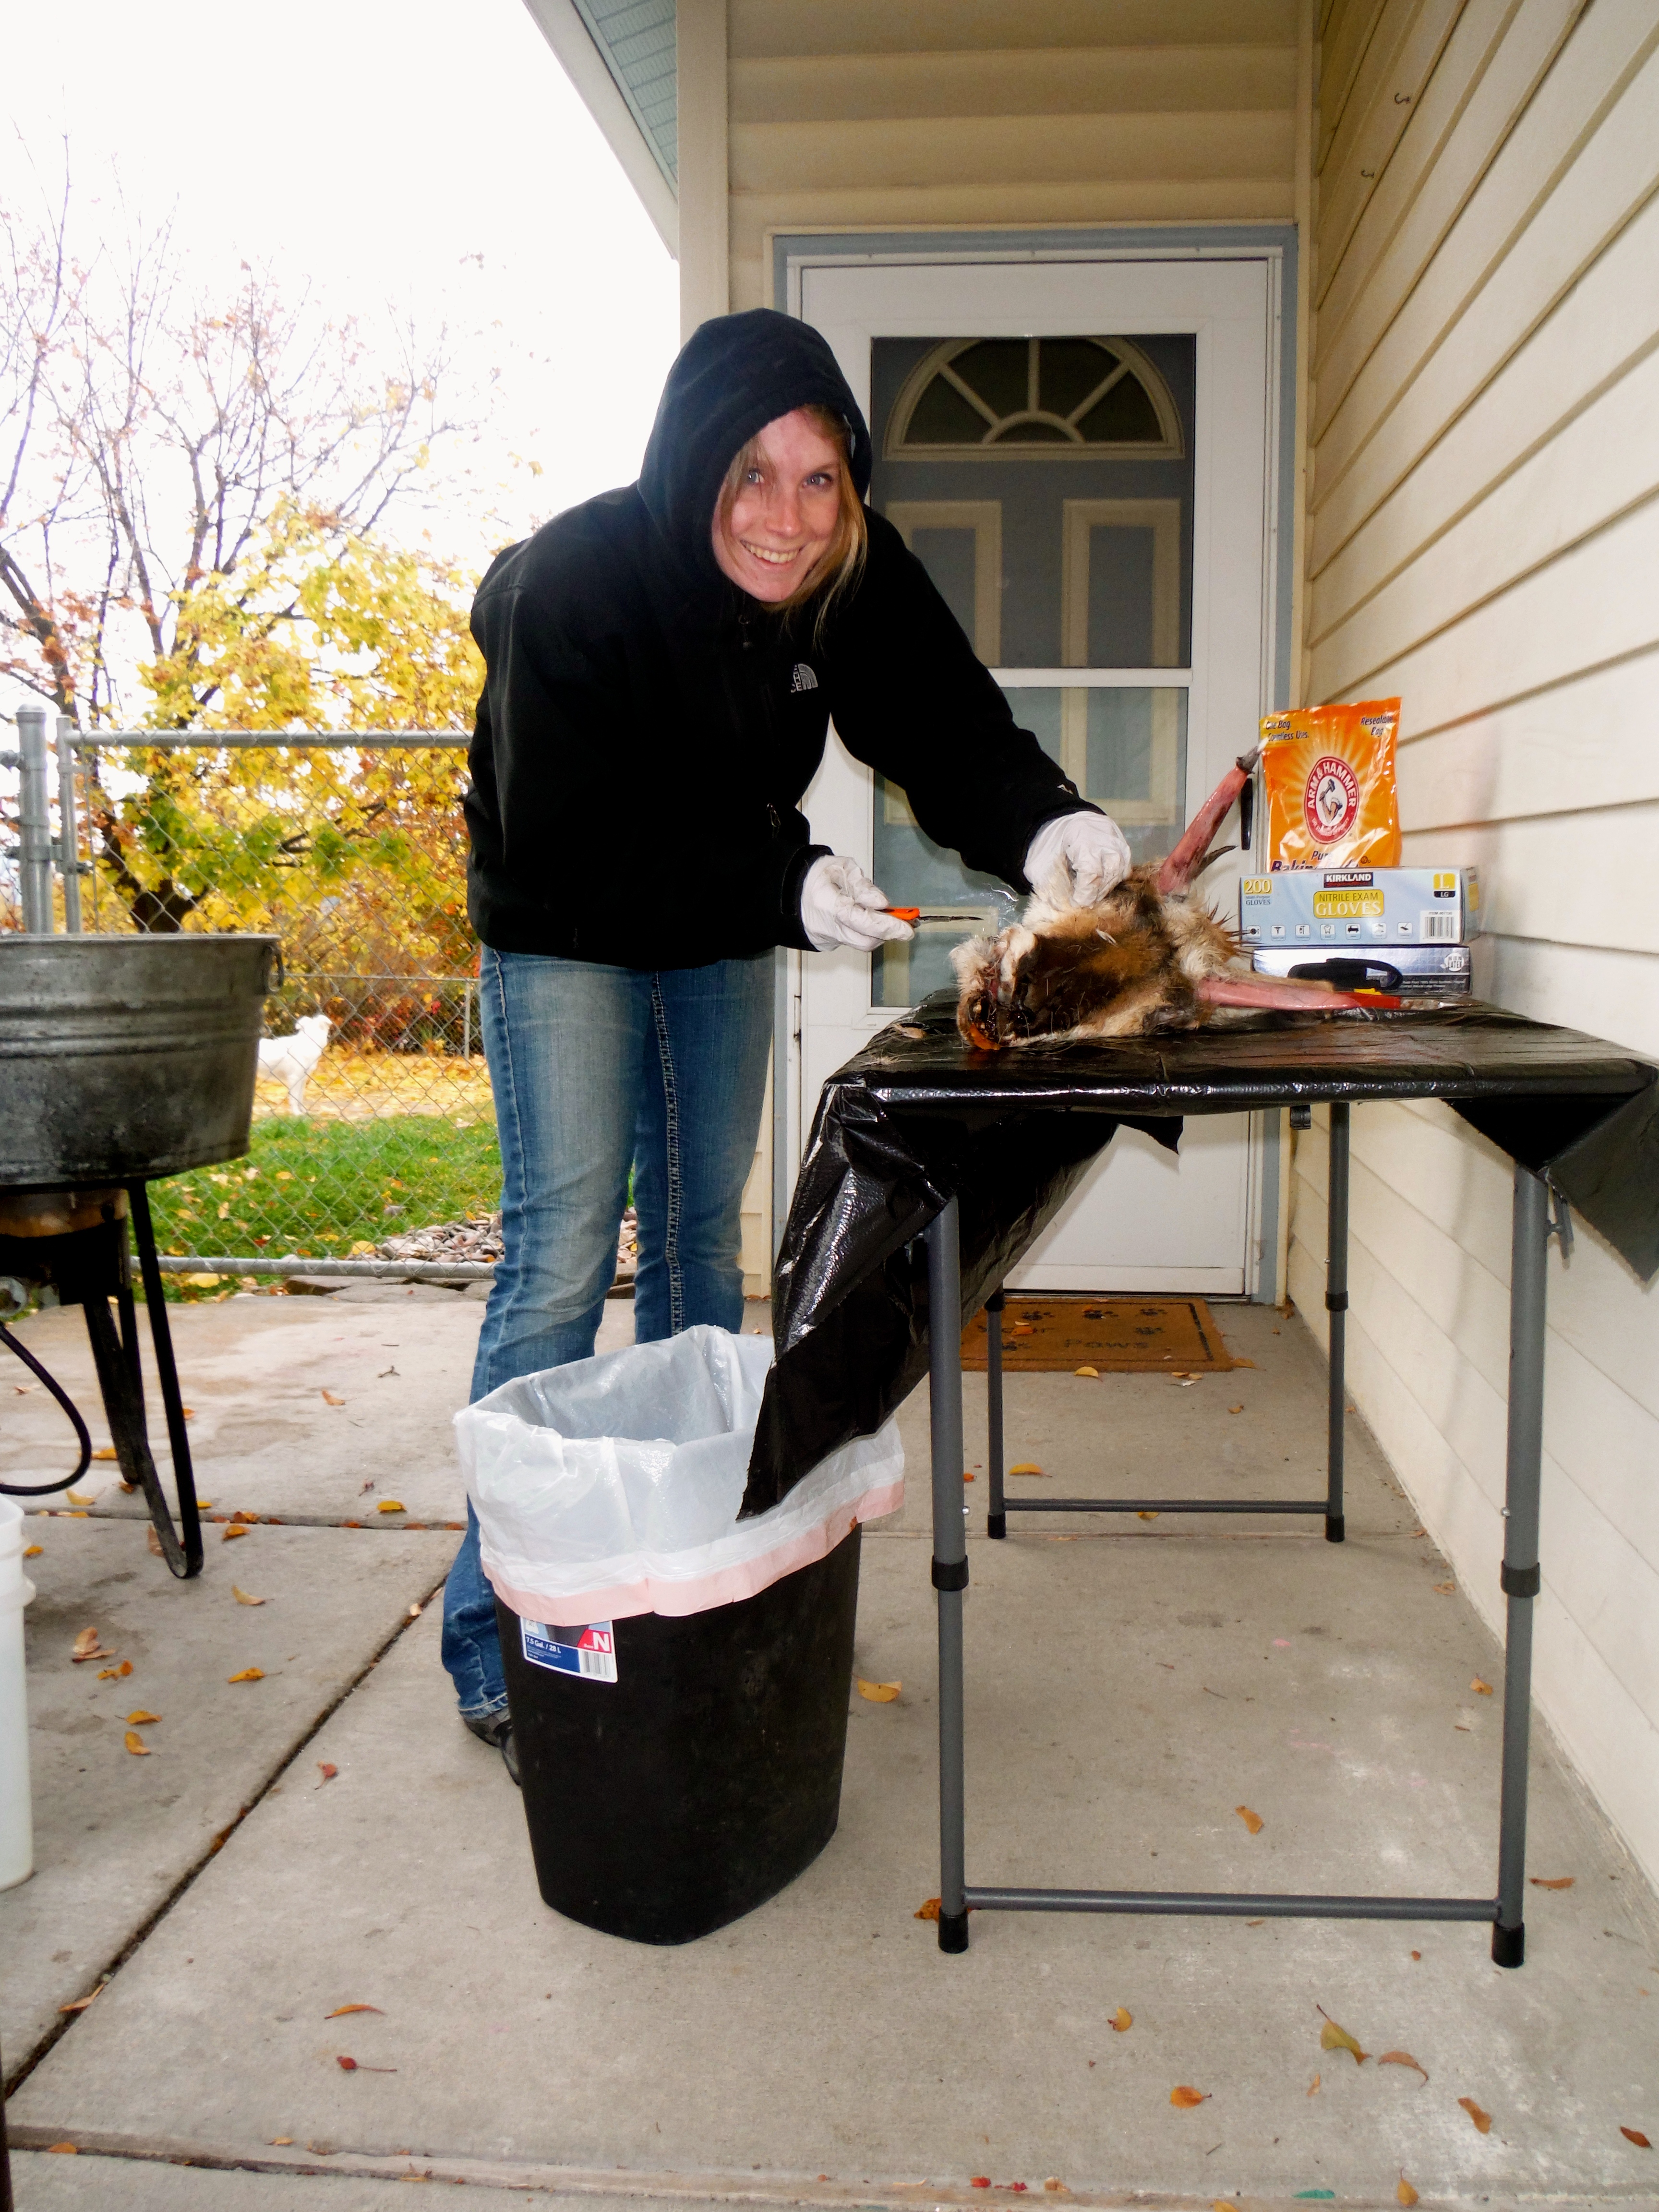
For starters you will need a large pot. It has to be big enough for the entire skull to be submerged under water. If any part of the skull is open to the air it will leave a line of grease in the skull and discolor it. Before your skull is ready for the pot it will need to have as much meat cleaned off of it as possible. The more meat left on the skull, the more time it takes to get it clean. There are a couple of places on the skull that are an exception to that rule. I personally leave the meat around all the teeth and nose bones on, as long as possible. These areas tend to cook the fastest and then you start having teeth and nose bones coming off. It is simple to glue them back on with plain Elmer’s School Glue after the skull is finished but I like to avoid that if possible. Leaving those areas alone until the end of the process will buy you some time. Skin the entire head and remove the lower jaw and any remaining vertebrae from the neck. Cut away the meat from the rest of the skull being careful not to cut the skull bone itself. Cuts made on the bone will be visible on the final project.
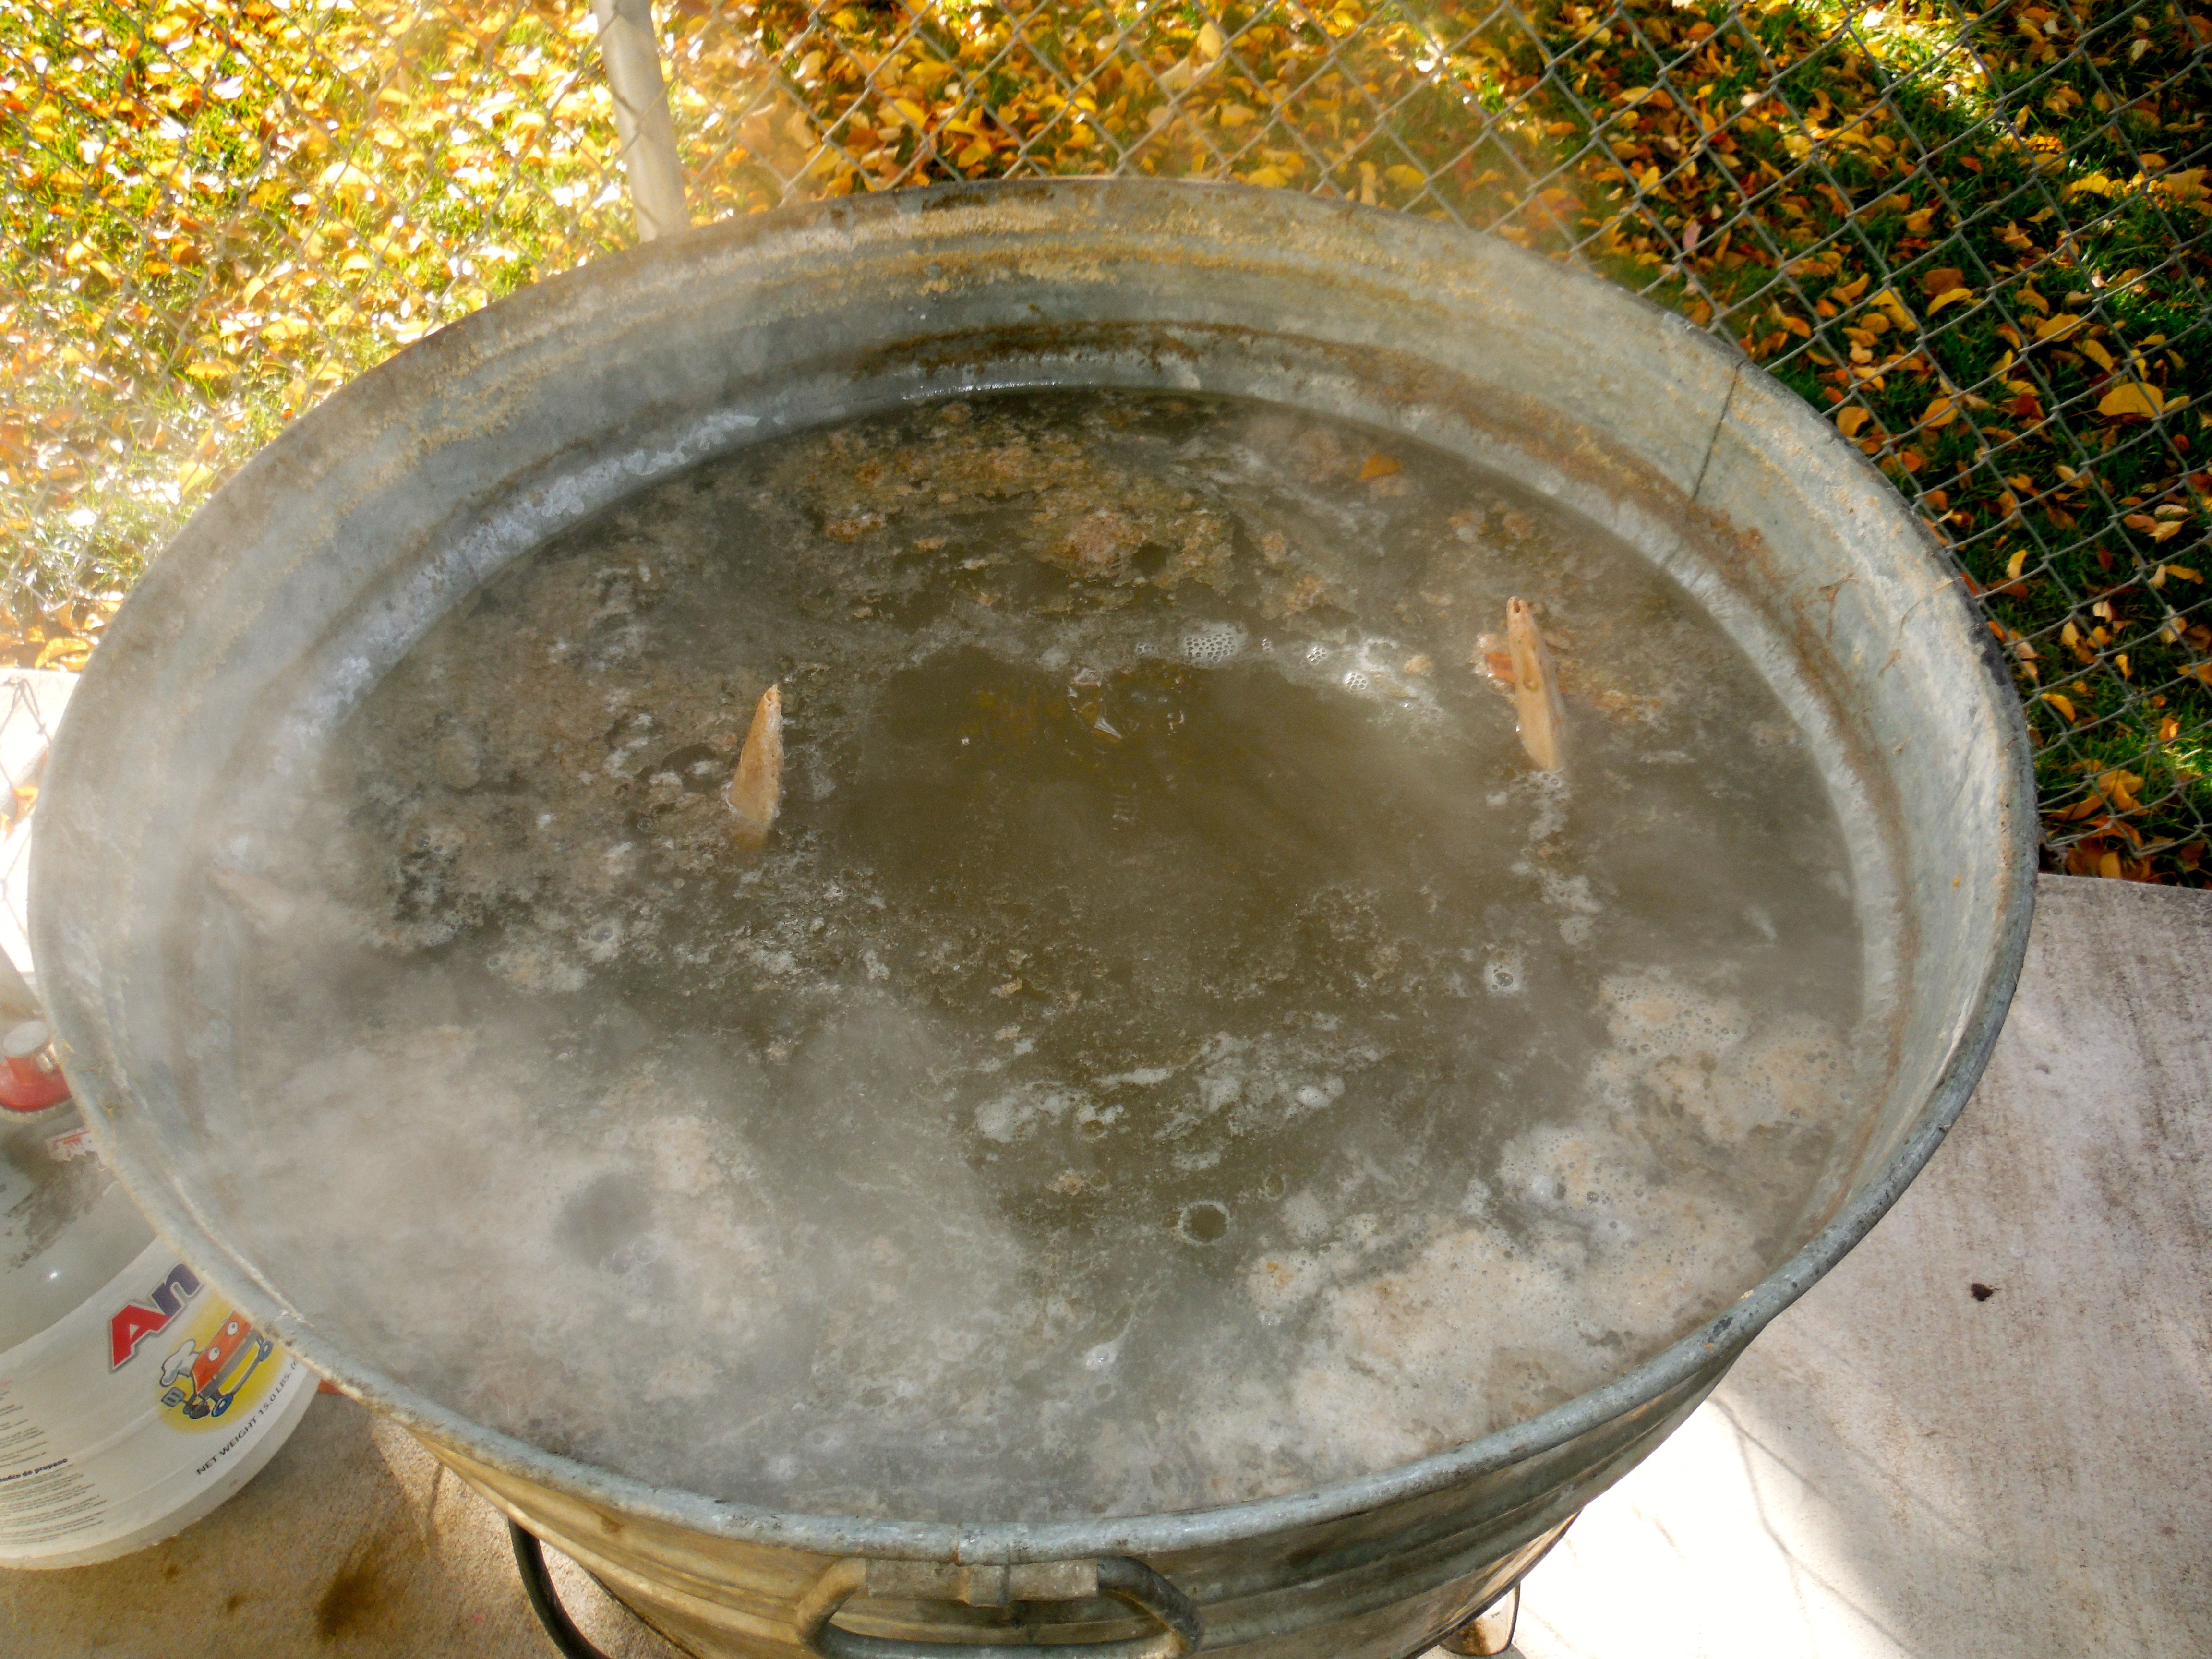
Get your pot filled with water and started heating. Add baking soda at this point if desired. Once your skull is clean place it into the water. If you are working on a skull with antlers you will want to place a board across the pot behind the antlers to keep them up and out of the water as much as possible. It is more important that the skull is covered than it is too keep the antlers out of the water but do the best you can. Watch your water level very closely as it will evaporate and expose the skull leaving unsightly grease lines. Let the water come to a simmer but avoid actually boiling the water. The boiling quickly breaks down the skull making it fall apart way faster than if the water is just at a simmer.
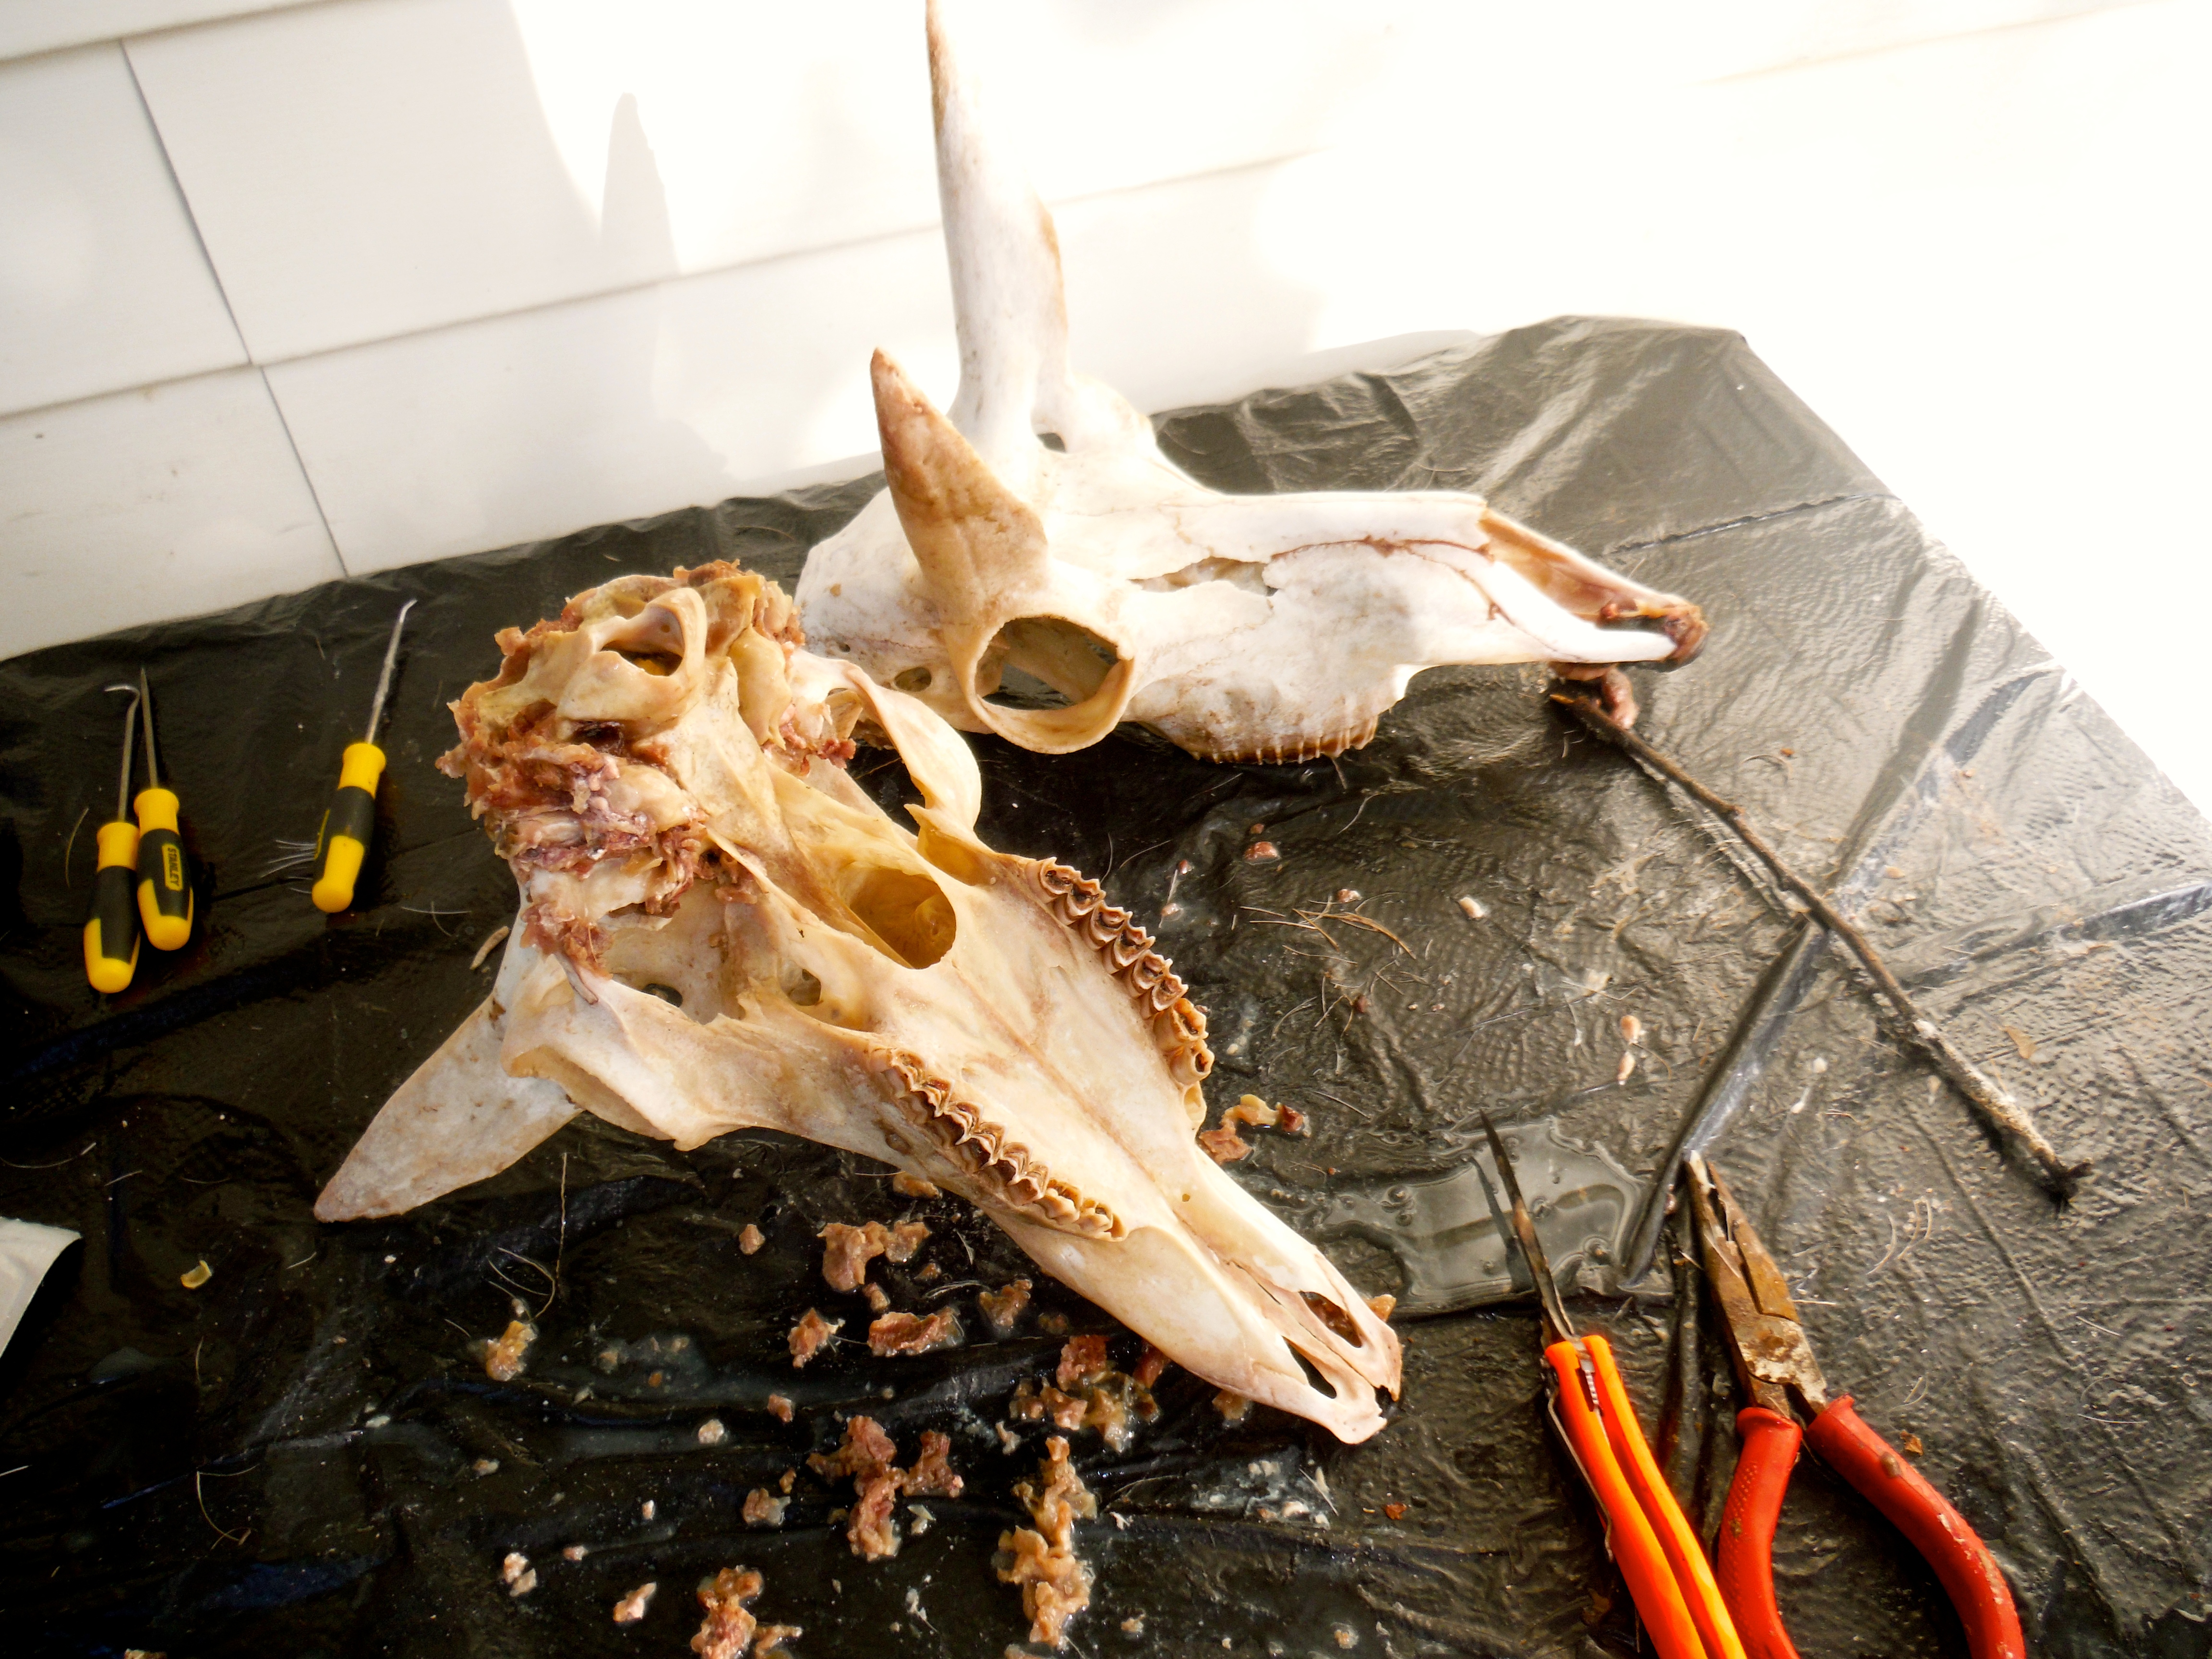
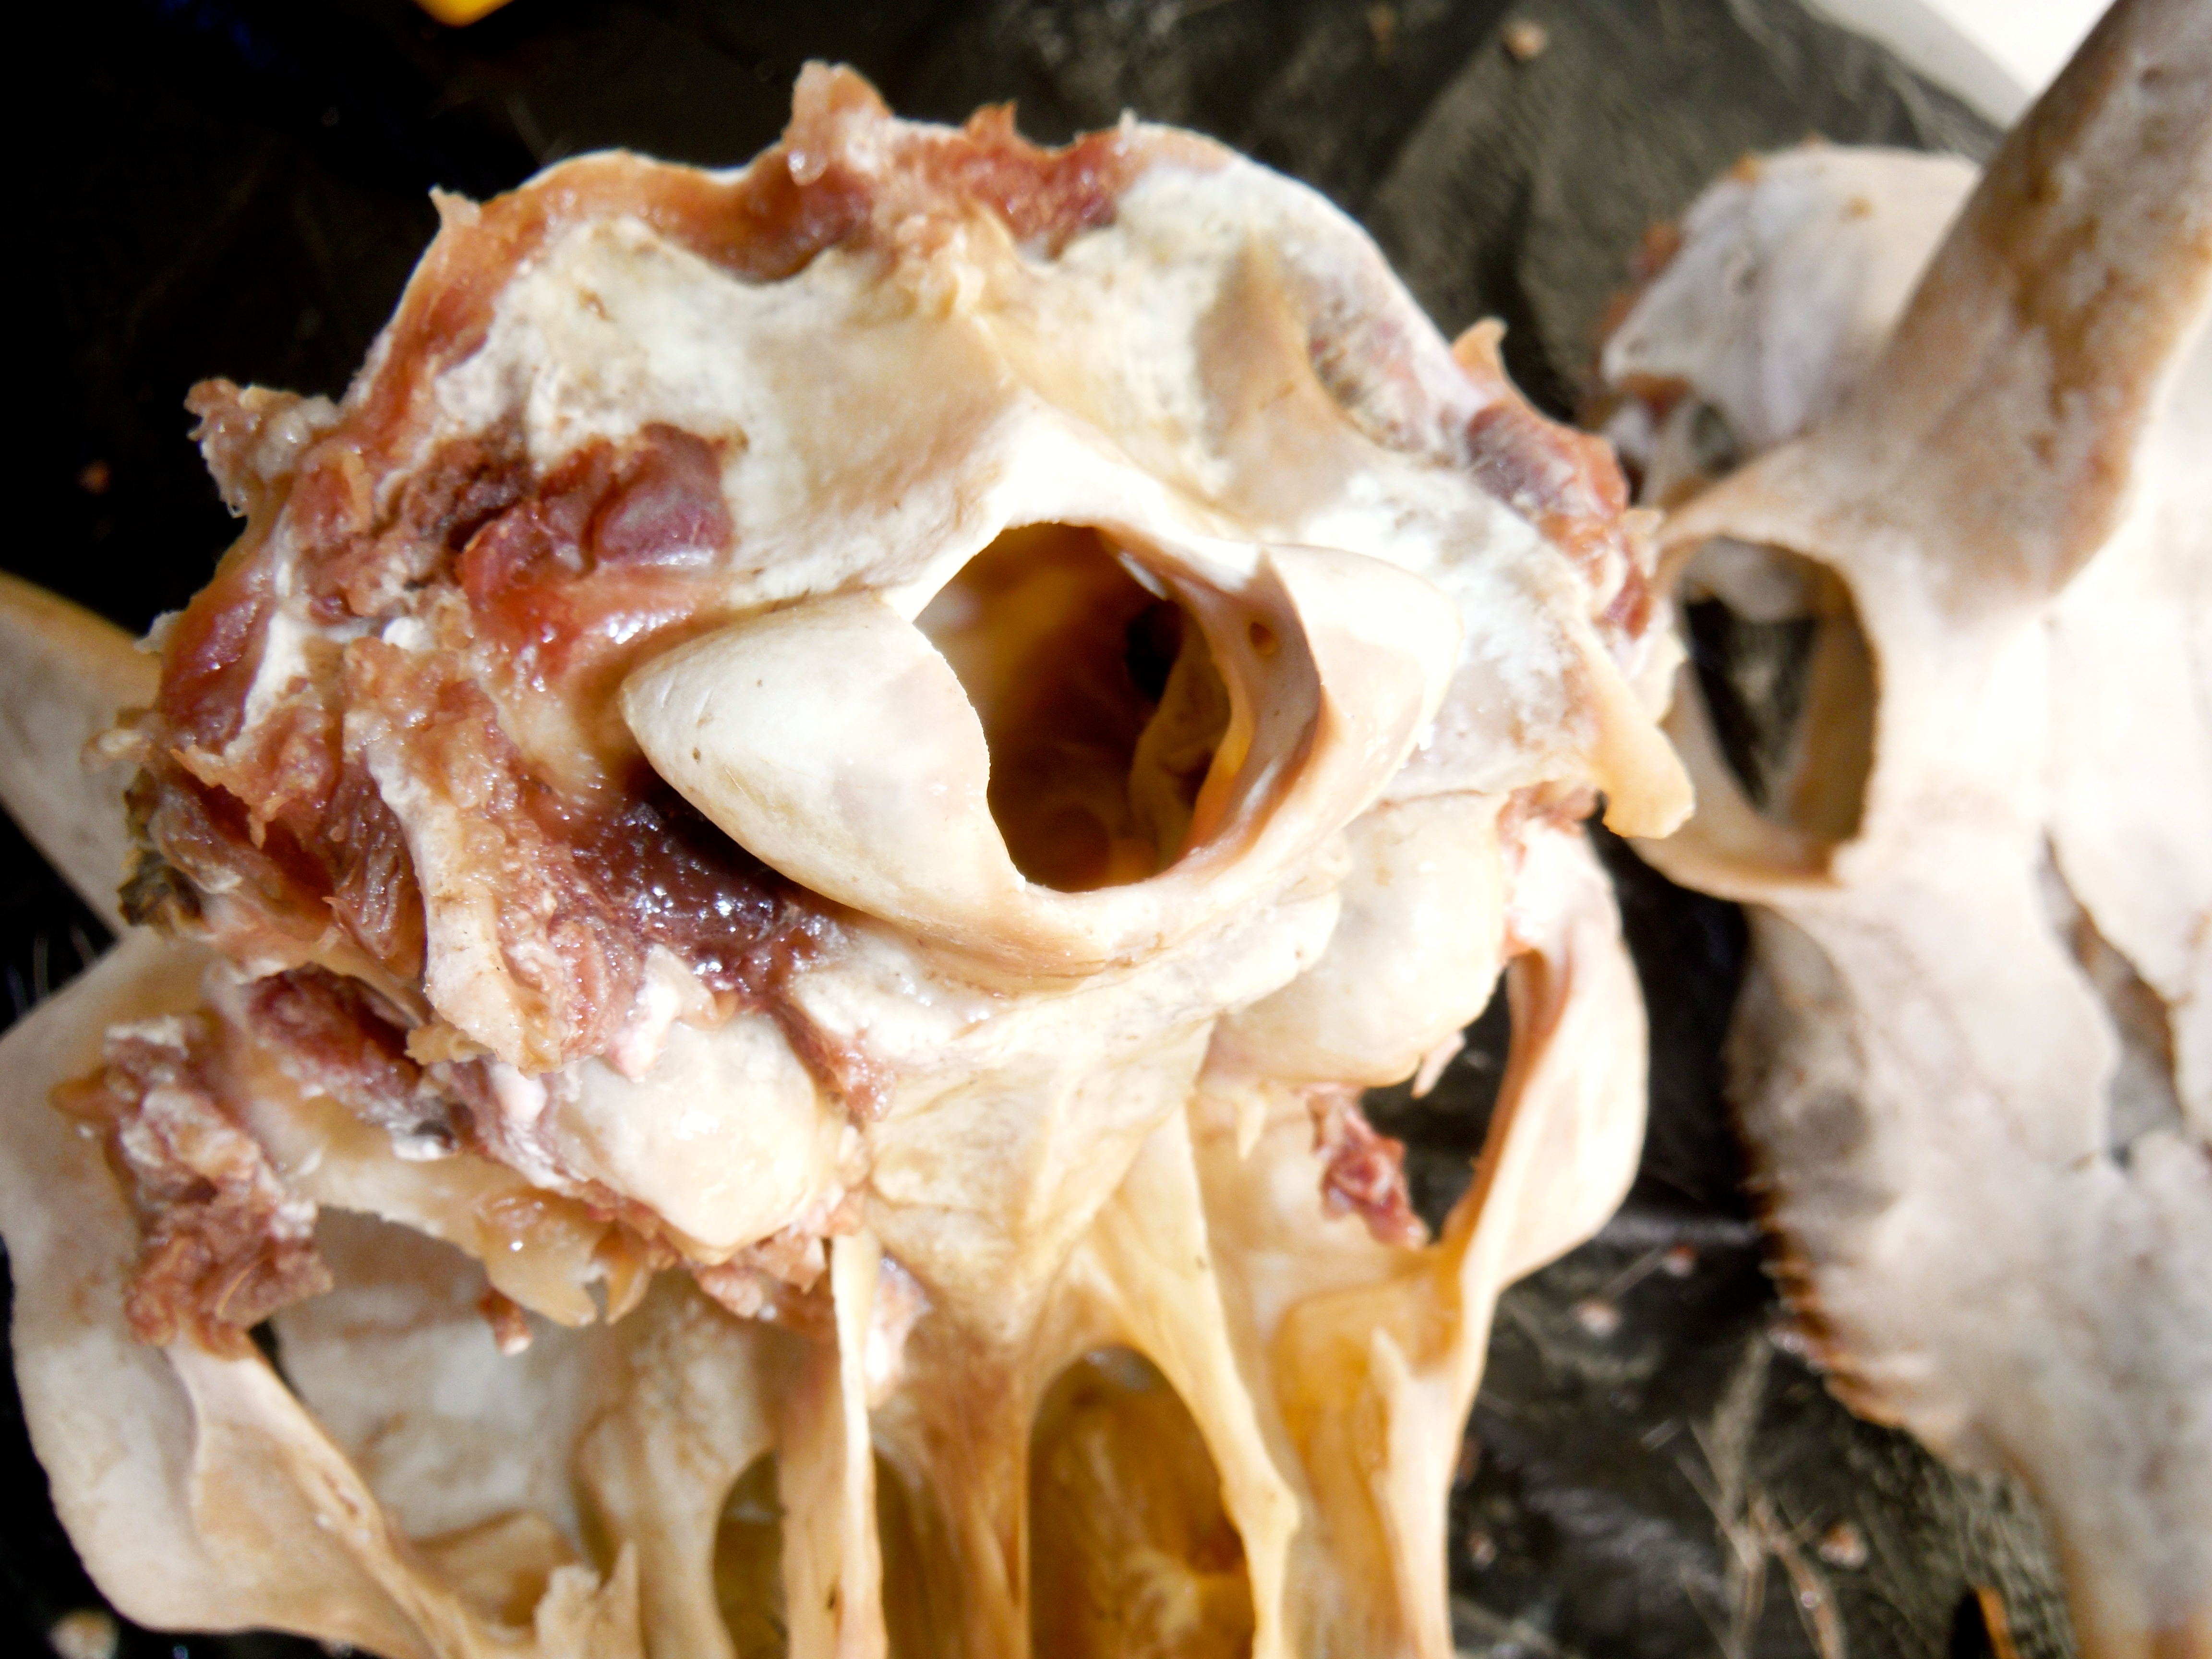
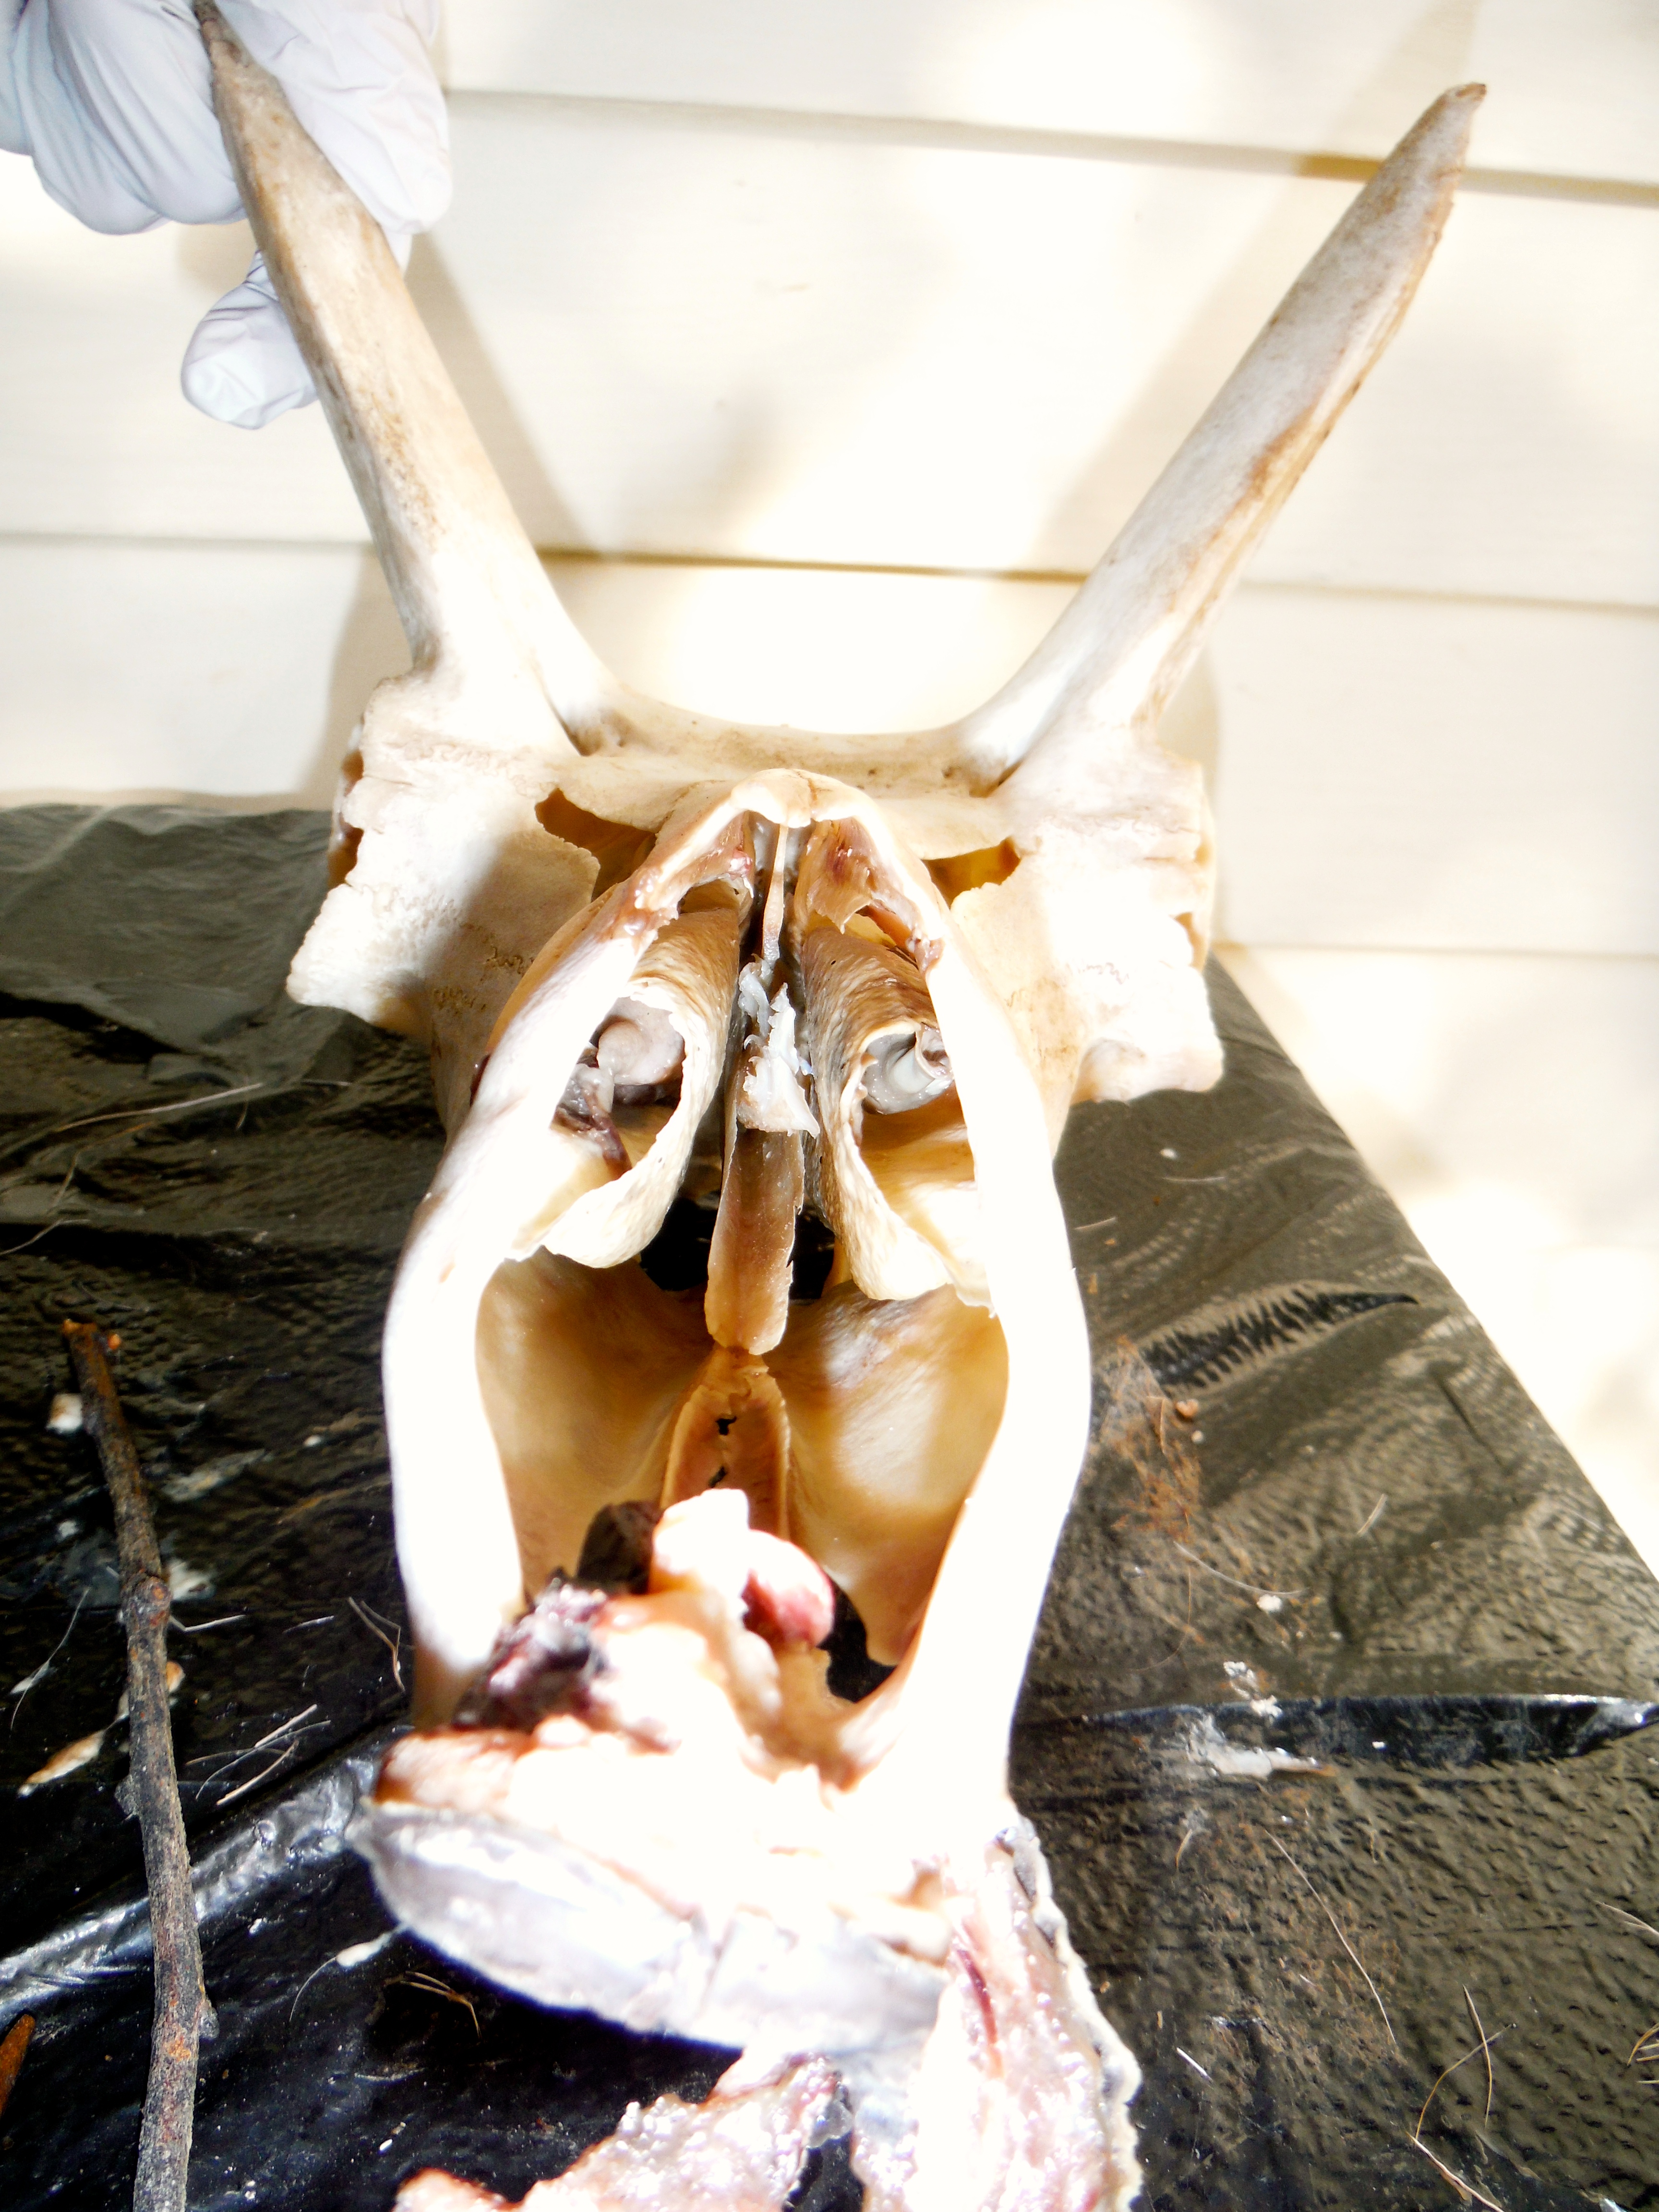
Every half hour or so pull your skull out and set it on the table. Pick at it and cut away at it to remove all of the meat and membranes. This is the tedious part. Leave the lower nose bones and teeth alone until the rest of the skull is about finished. Put a tool up into the hole of the brain cavity and break it apart in there so that the water can wash it clean. Be extra gentle with the nasal cavities as the bones in there are very delicate. These bones take the longest to get clean along with the rugged edge along the back of the skull. During this process, keep an eye out for any loose or missing bones and teeth. Make a mental note if something goes missing because it will have to be fished out of the pot for the developer step. It can help your skull stay together longer if you leave it out of the pot for ten minutes here or there to let it cool a little.
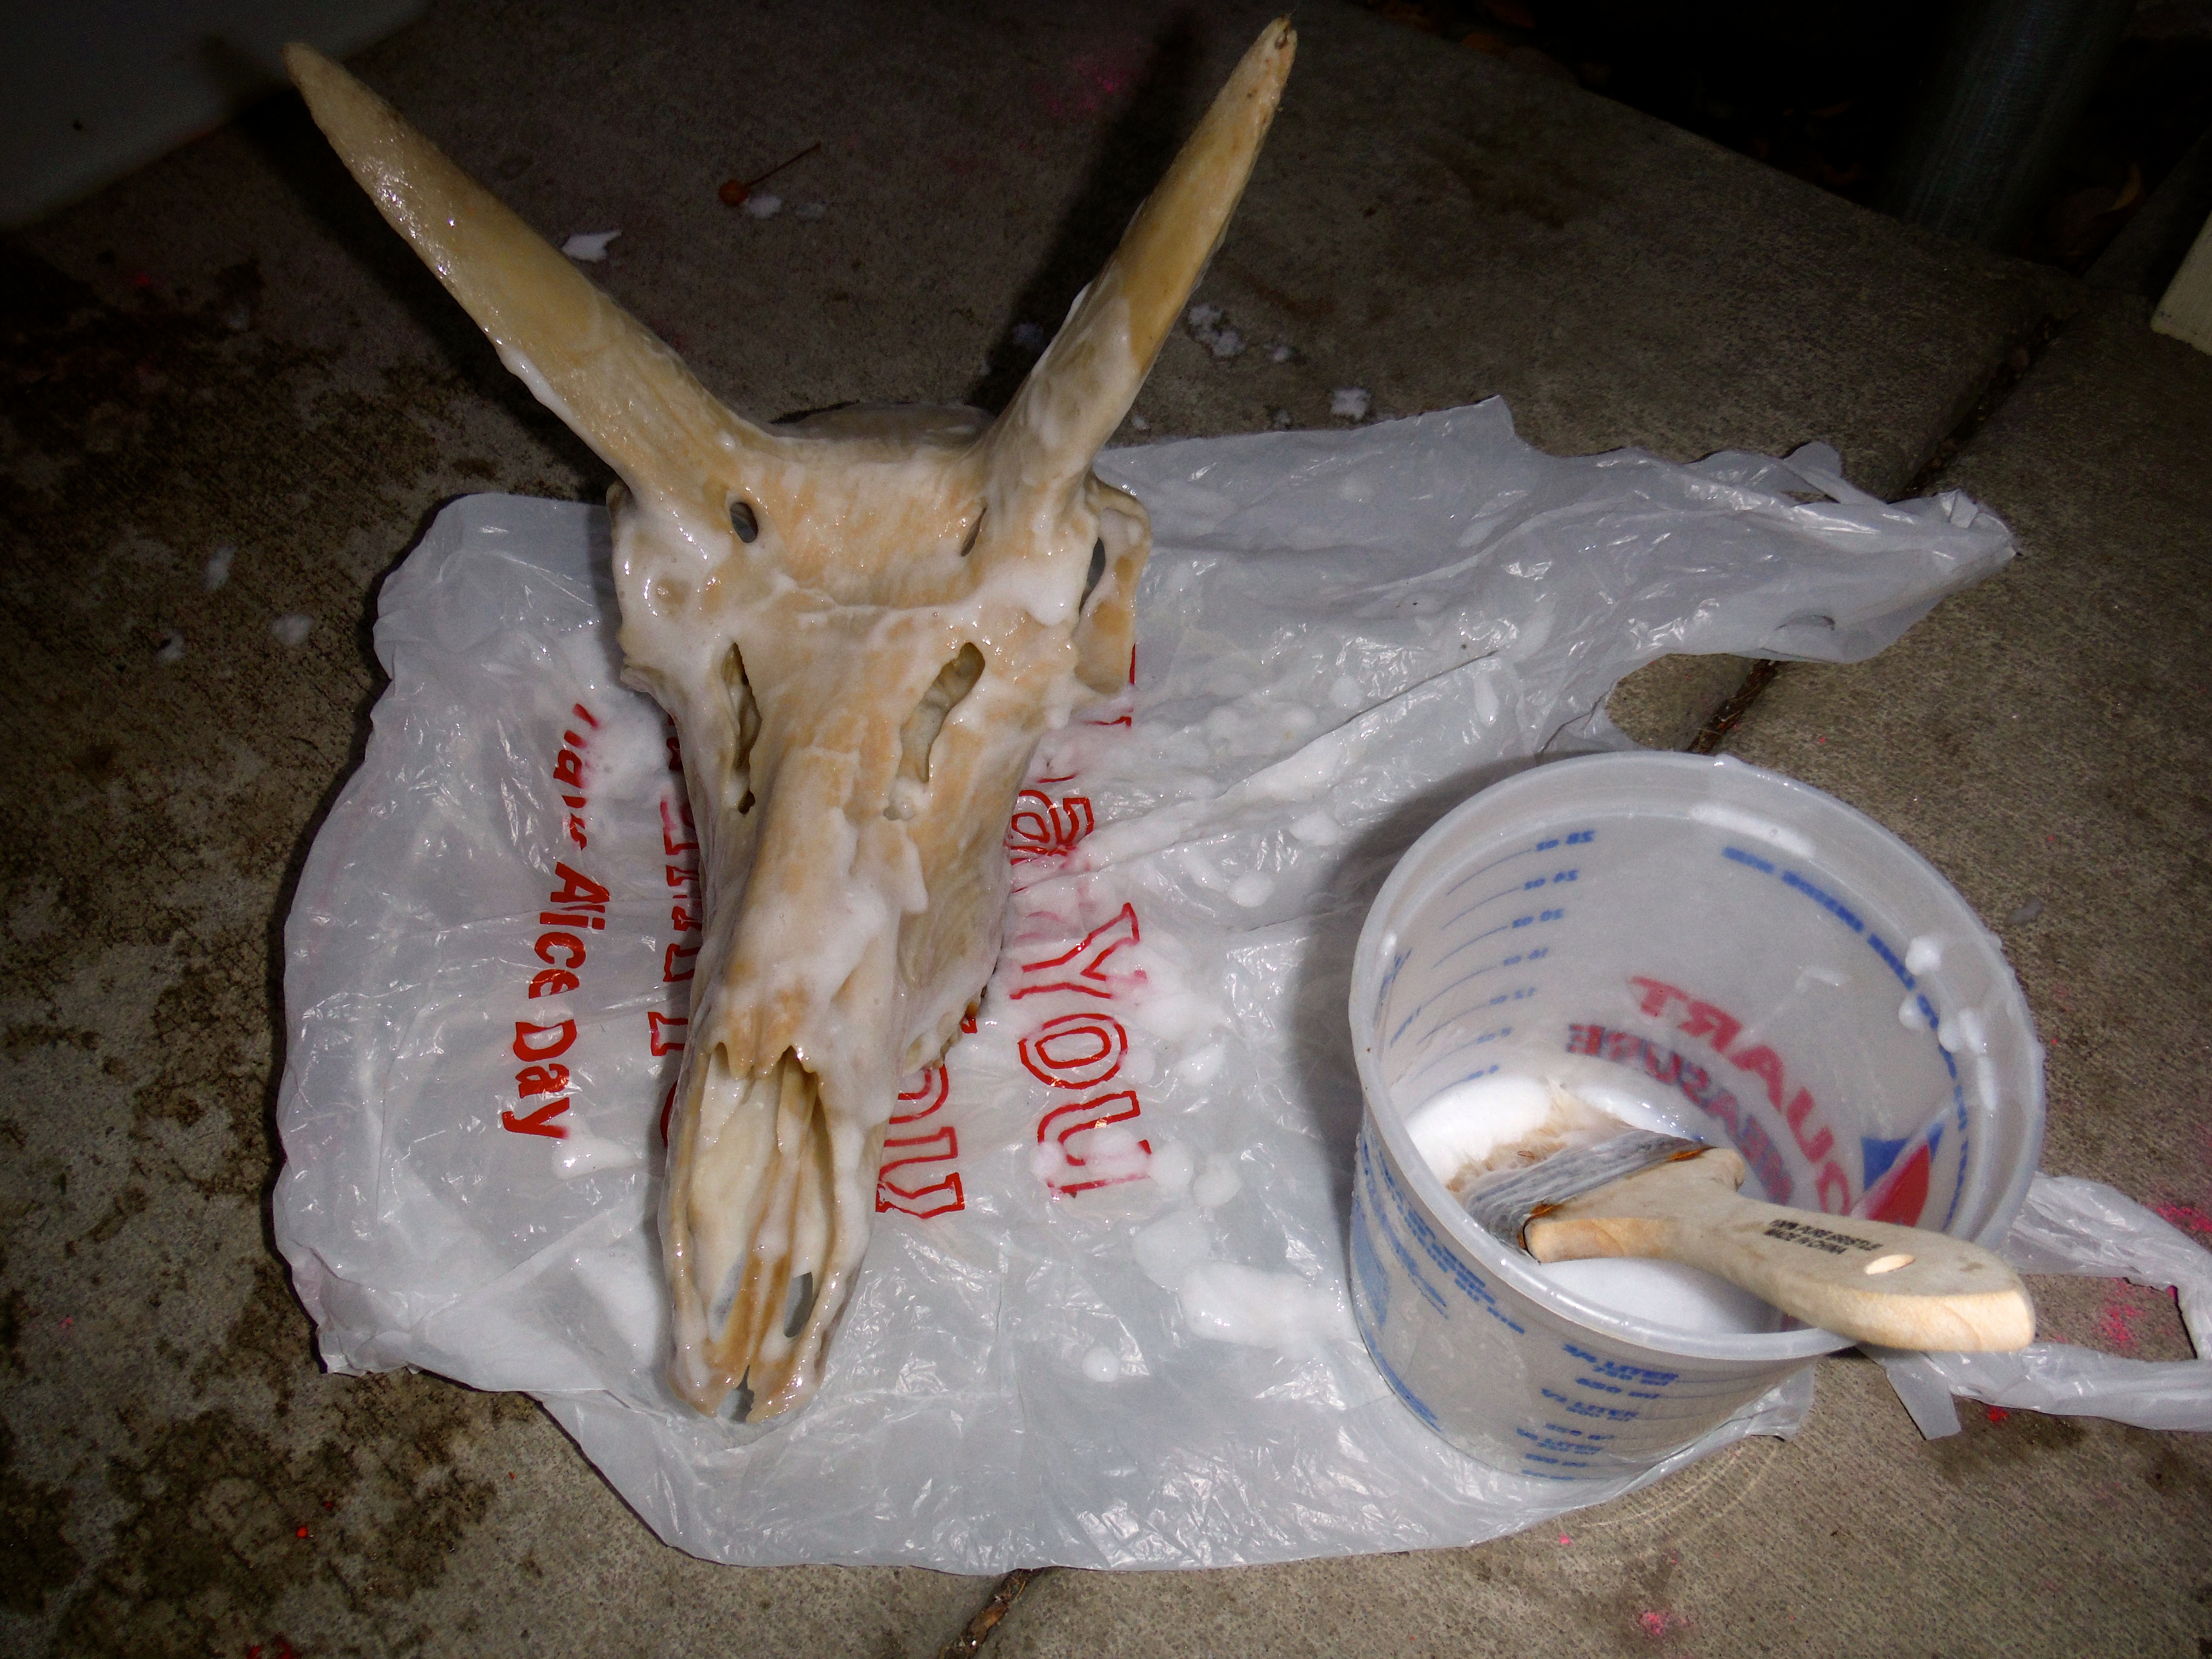
Once all of the junk has cooked off of your skull it is time to prepare for the developer. Boil a quart or so of water and place some developer into your plastic container. Grab your skull but before you lift it out of the pot, swirl the water around until you can lift it out without getting any of that nasty foam on it. The foam is going to be in the pot from the cooking process but you don’t want a coating of it on your skull when it is time to put the developer on it. Next, rinse your skull well with the freshly boiled water to clean off the dirty water from the pot. Let your skull just start to evaporate off the water and while it is still steaming, slather every nook and cranny with lots of developer. Make sure every spot is covered and put plenty into the nose, sinuses and eye sockets. Be careful to avoid getting it on the antlers as it will have to be washed off of them.
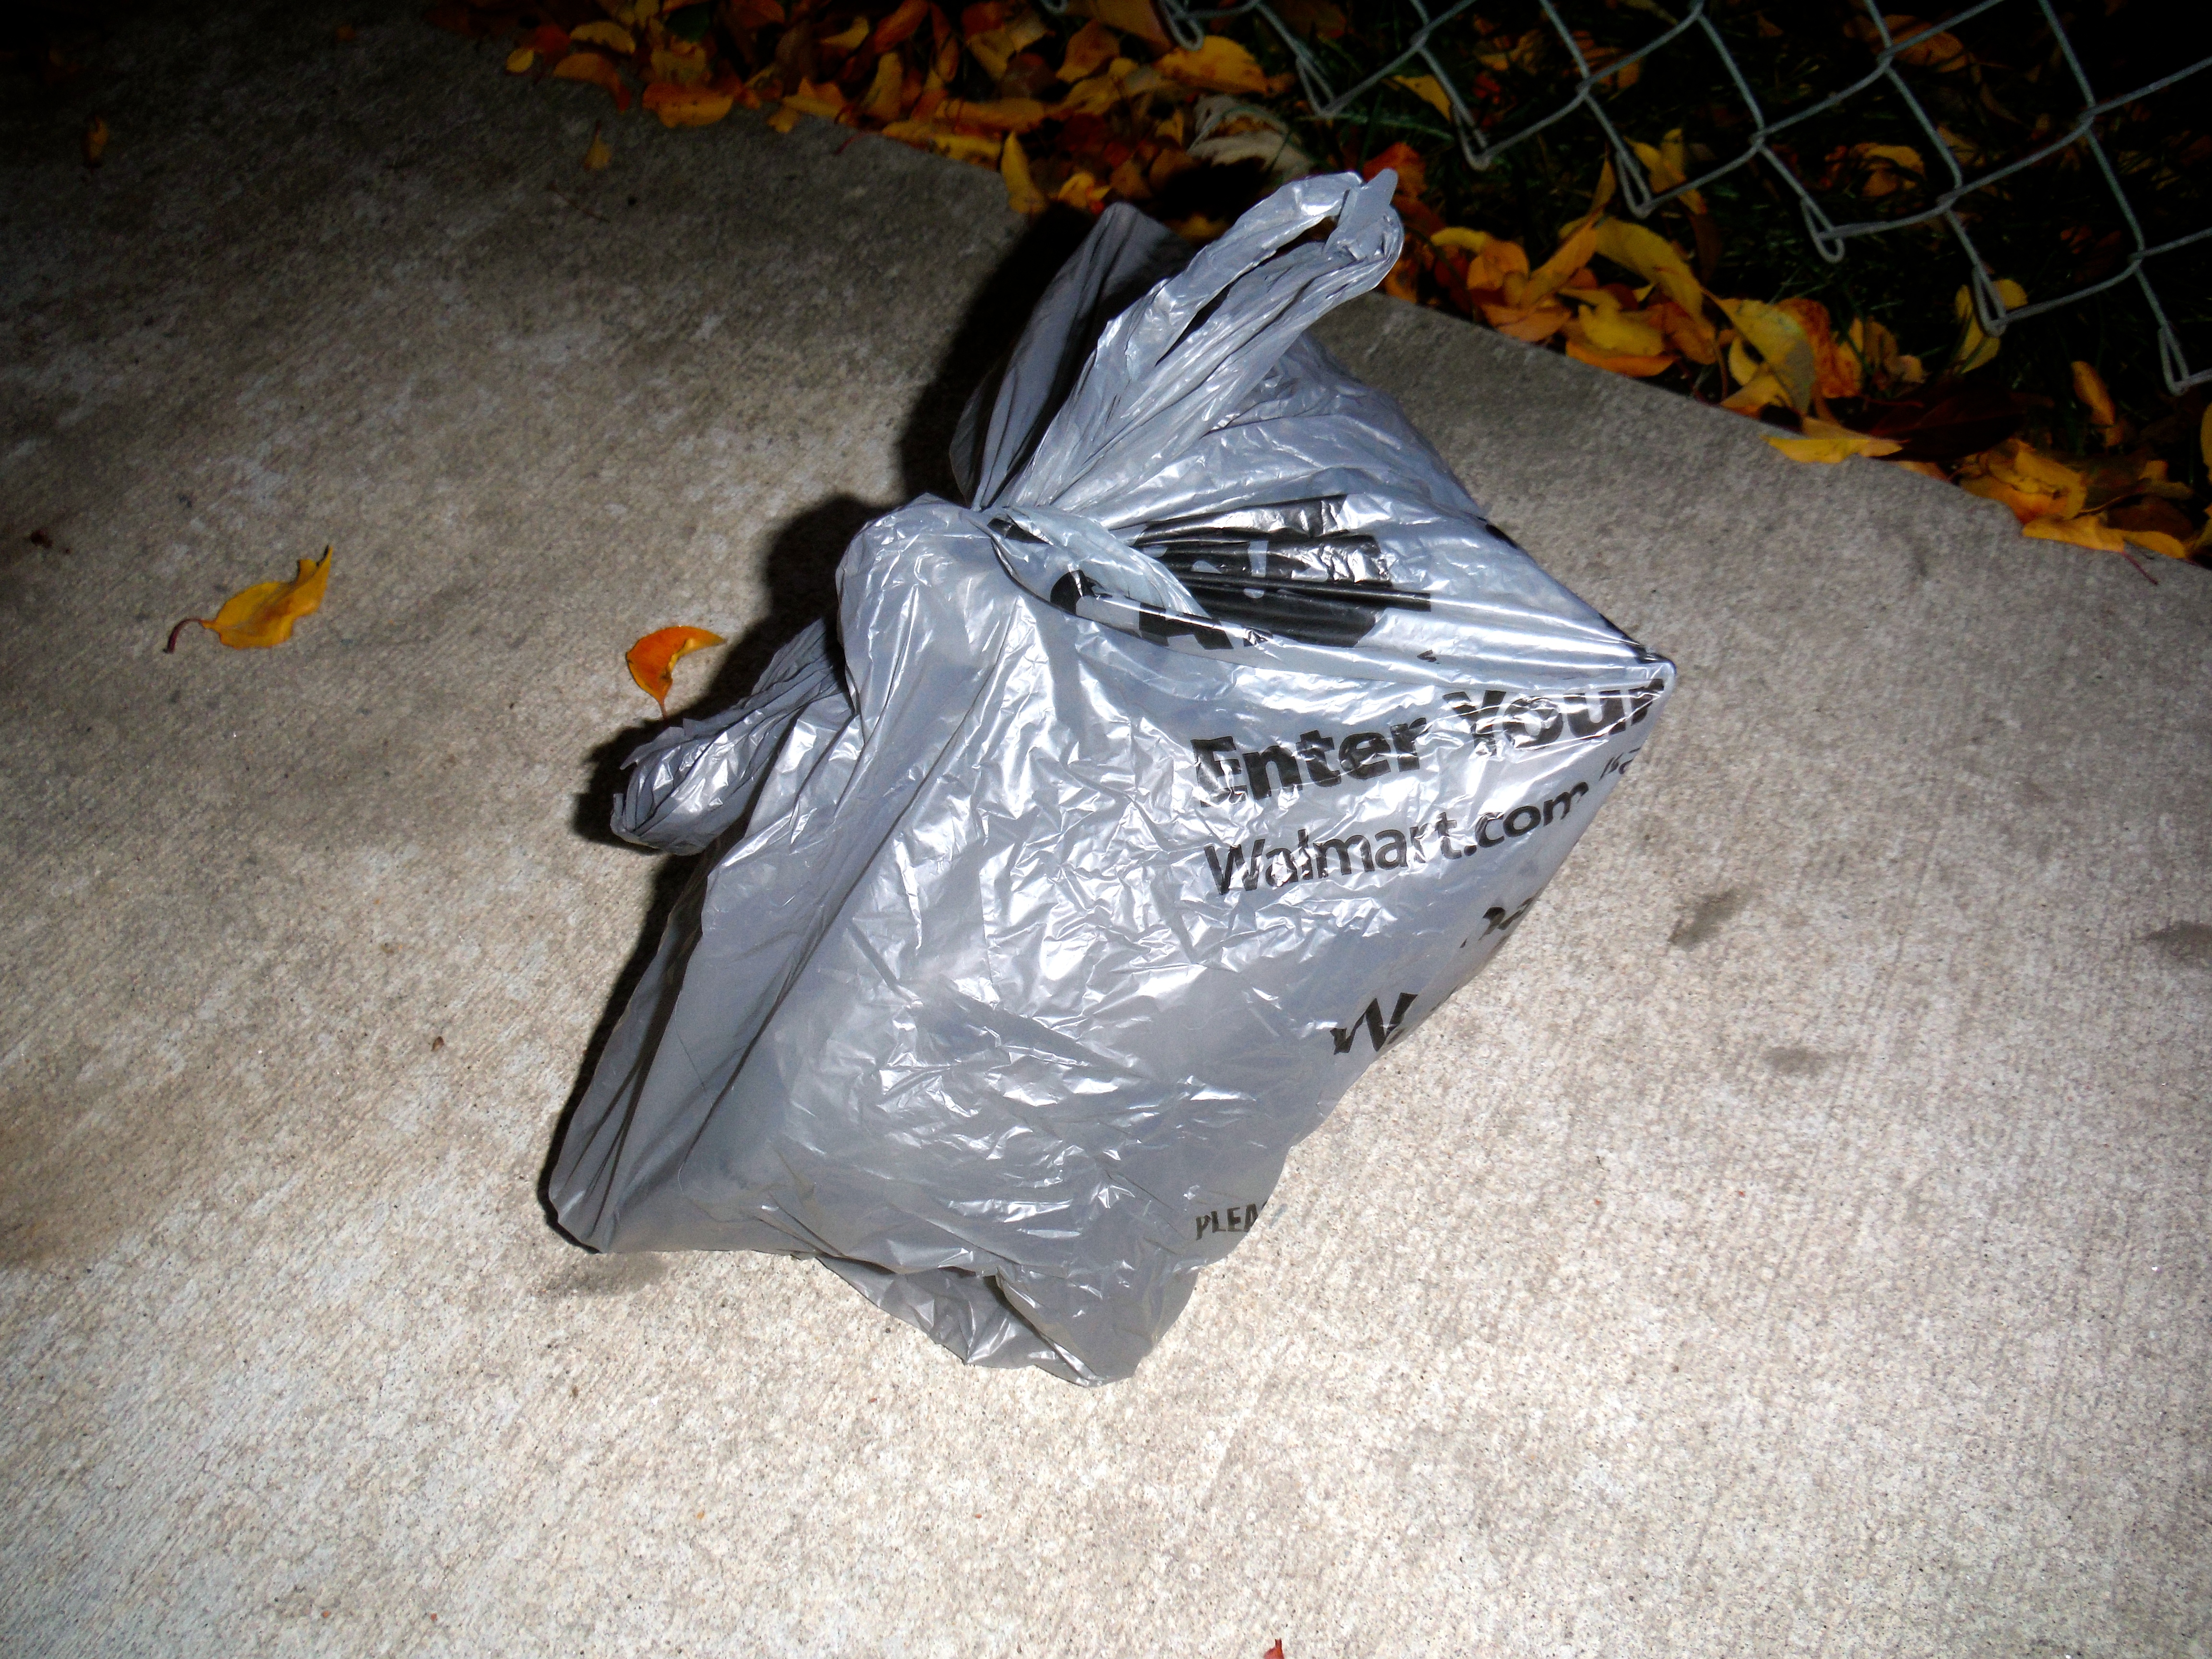
Once your skull is covered, place it into the grocery sack and wrap the sack around the antler bases leaving only the antlers exposed. Tightly wrap electrical tape around the bases to keep the bag in place. You can double wrap the skull in a second bag as well. When everything is well sealed and you won’t be getting water on your skull, carefully wash any developer off of the antlers. If you miss any it WILL bleach the antlers. The developer is a very strong agent and will bleach most anything you get it on. It will also burn your skin so WEAR GLOVES. Read the warnings on the container to familiarize yourself with what your working with. Use it at your own risk. Leave the bleached skull in the bag overnight.
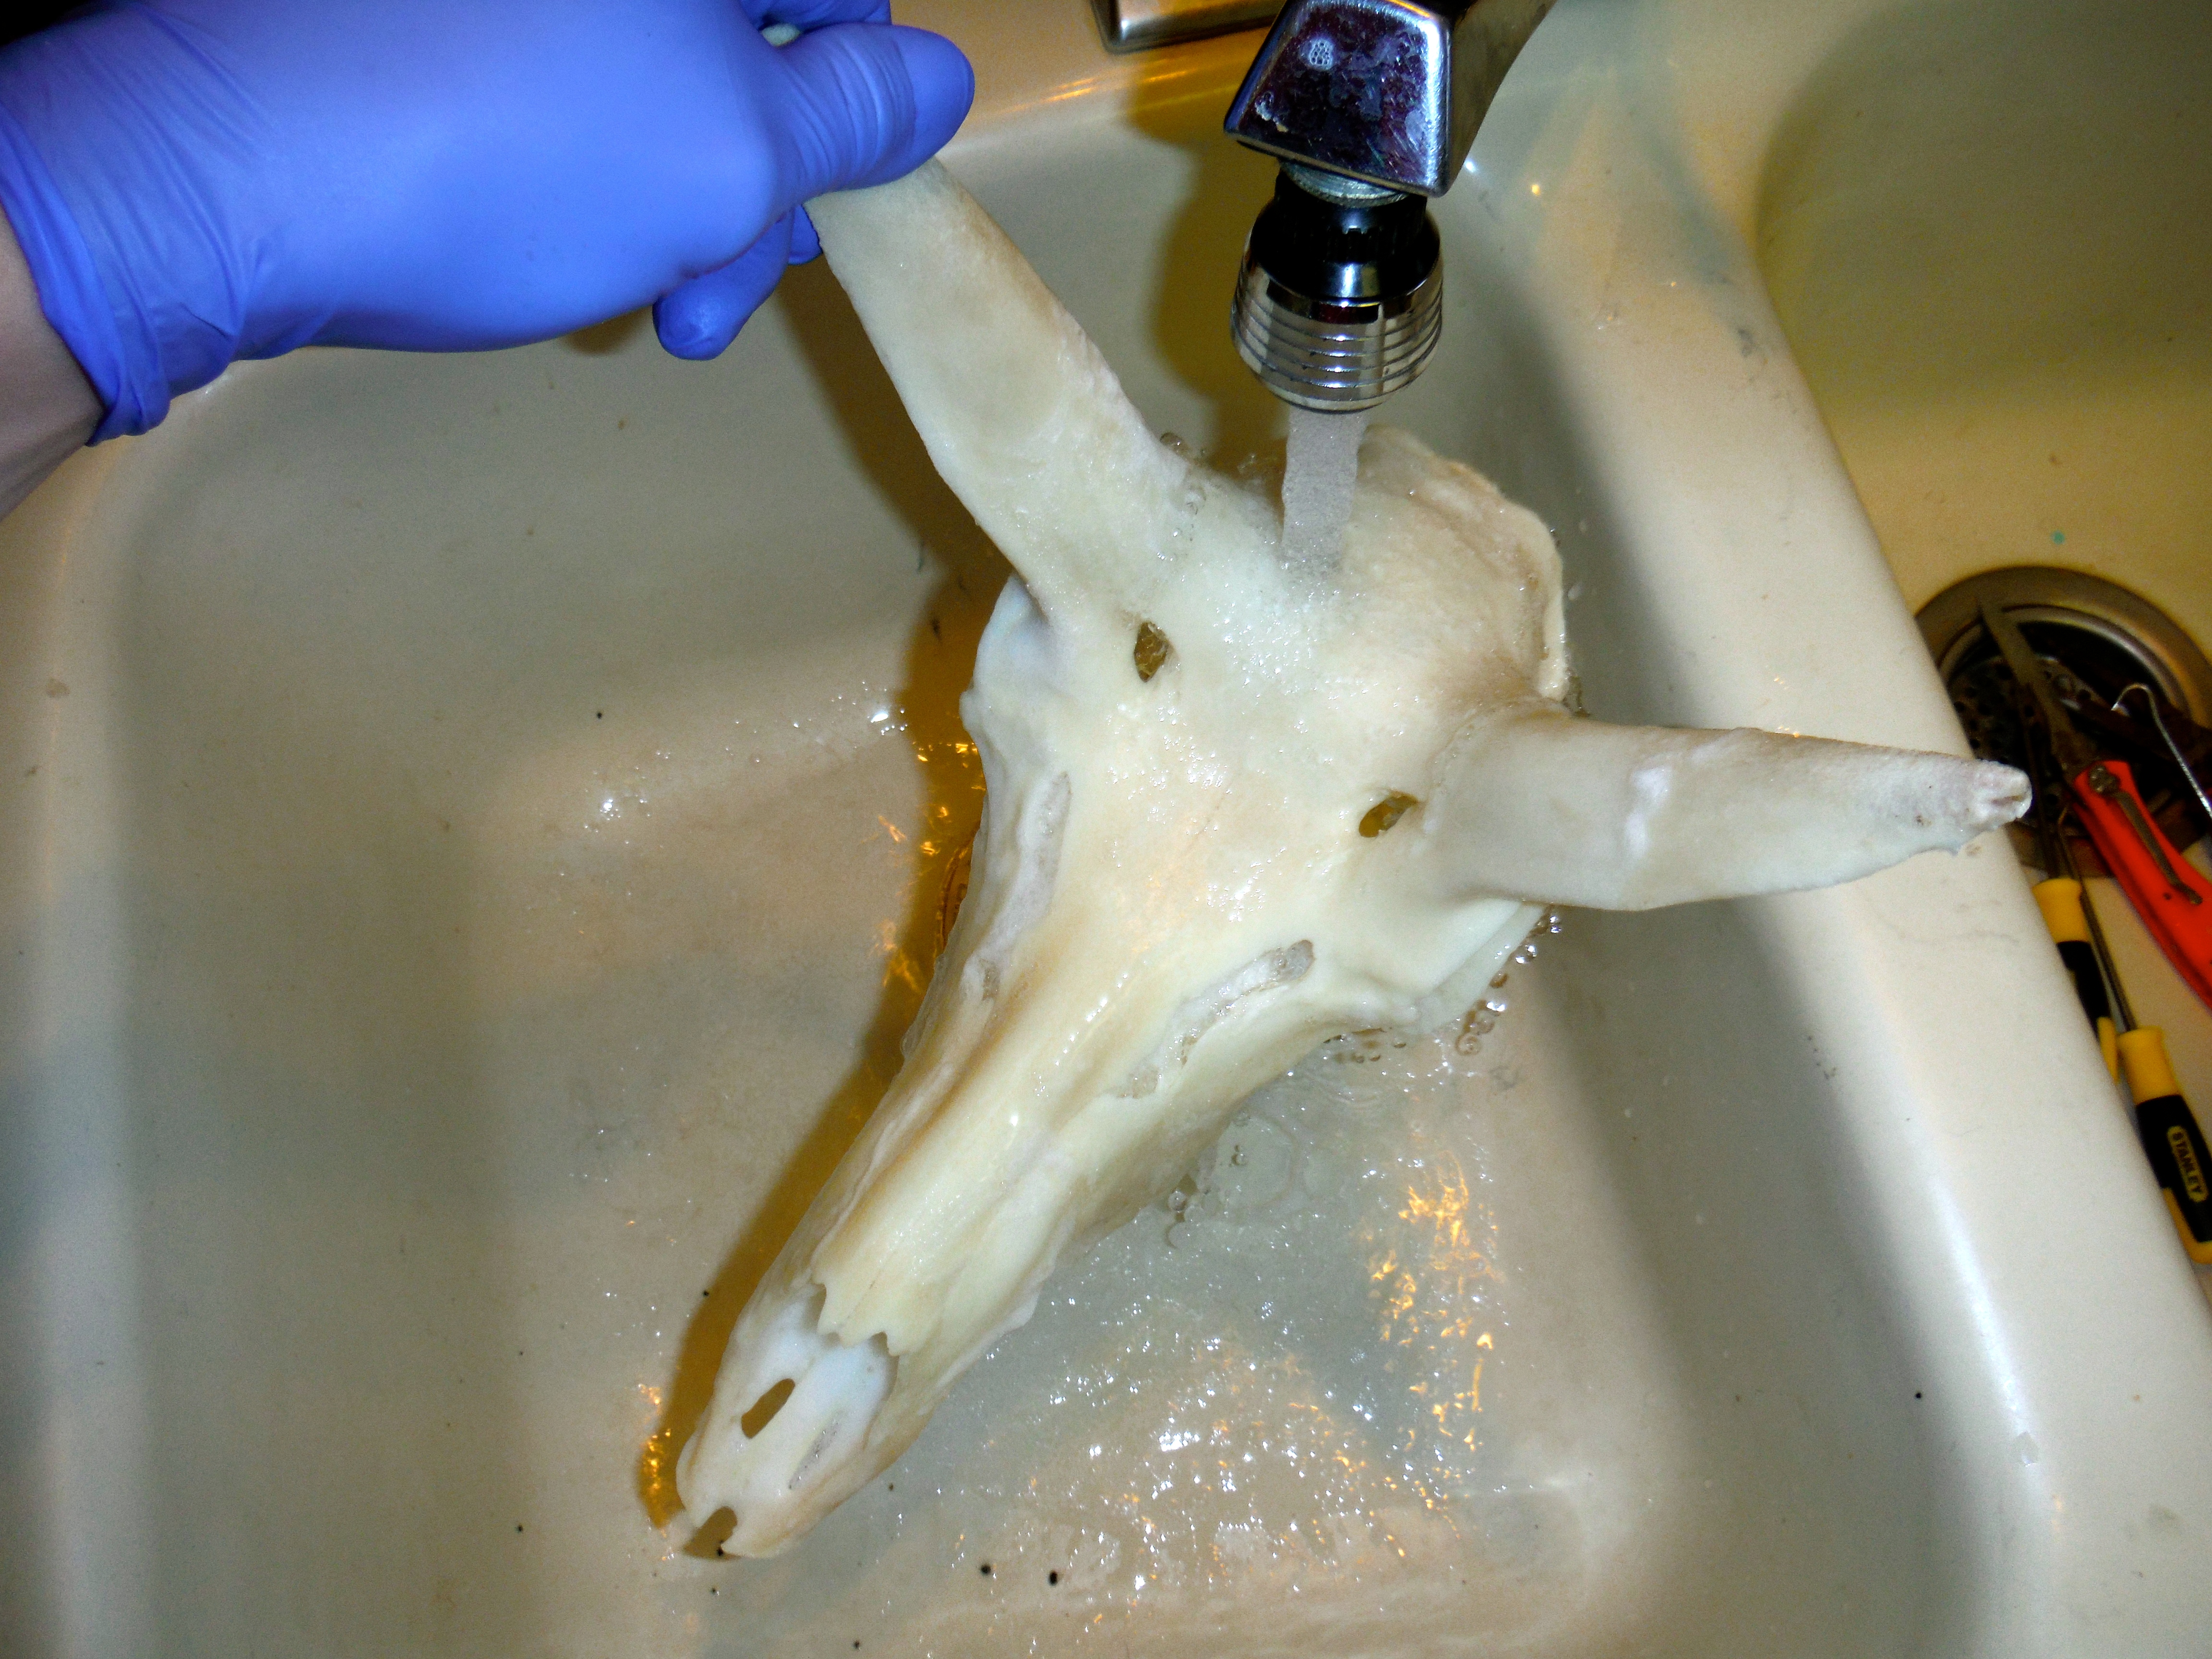
The next day, put on your gloves and remove the skull from the bag. Wash all the developer off of it with clean running water. Set it somewhere safe to dry. As the skull dries it will become more and more white. It will also be very easy to get marks and fingerprints on until it is clear coated, so avoid touching it. Let it dry for another entire day.
Once completely dried you can coat it in any spray clear coat you want. My personal favorite is called Liquid Crystals, it can be purchased through a taxidermy supply store but any clear coat will work fine. Let that dry to the specifications on the can. Your skull is now a work of art!